Visual Charting is an interactive charting feature that allows staff to visually mark up diagram, such as body maps, dental charts, or face mapping diagrams, and capture structured data directly within client appointment records. Instead of relying solely on text notes, staff can place interactive form inputs directly over image diagrams and use built-in digital drawing tools to annotate specific treatment areas during appointments. This article guides you through configuring and using visual charting custom fields within your SOAP notes and appointment workflows.
Things to know:
- The ability to customize custom fields is controlled by the "Manage Client Setup" access control setting.
- The ability to create visual charting is controlled by the 'Enable Chart Image Custom Fields' hidden setting that can only be enabled by the MyTime team. To enable this setting, please contactsupport@mytime.com.
- Chart Image fields are created under Custom Appointment Fields and must be assigned to a Staff Intake Form (SOAP Notes) to be used during appointments.
- Once an appointment note containing a Chart Image is saved, its background image, field positions, and drawings are frozen. Future updates to the field template will not alter previously saved historical notes
- For franchise businesses, visibility depends on where the field is created:
- Parent-Level Fields: Created at the parent account level and automatically available across all child locations.
- Child-Level Fields: Created at a specific location level and exclusive to that location (hidden from other child accounts).
- Chart Image custom fields are intended strictly for staff use on the Desktop Web App. While they cannot be accessed or viewed on the Online Booking Widget, Client Intake Forms App, Scheduler Apps, or PDF exports, staff members can print them directly from the staff intake form.
Contents:
Configuring Chart Image Custom Field
To create a new Chart Image custom field:
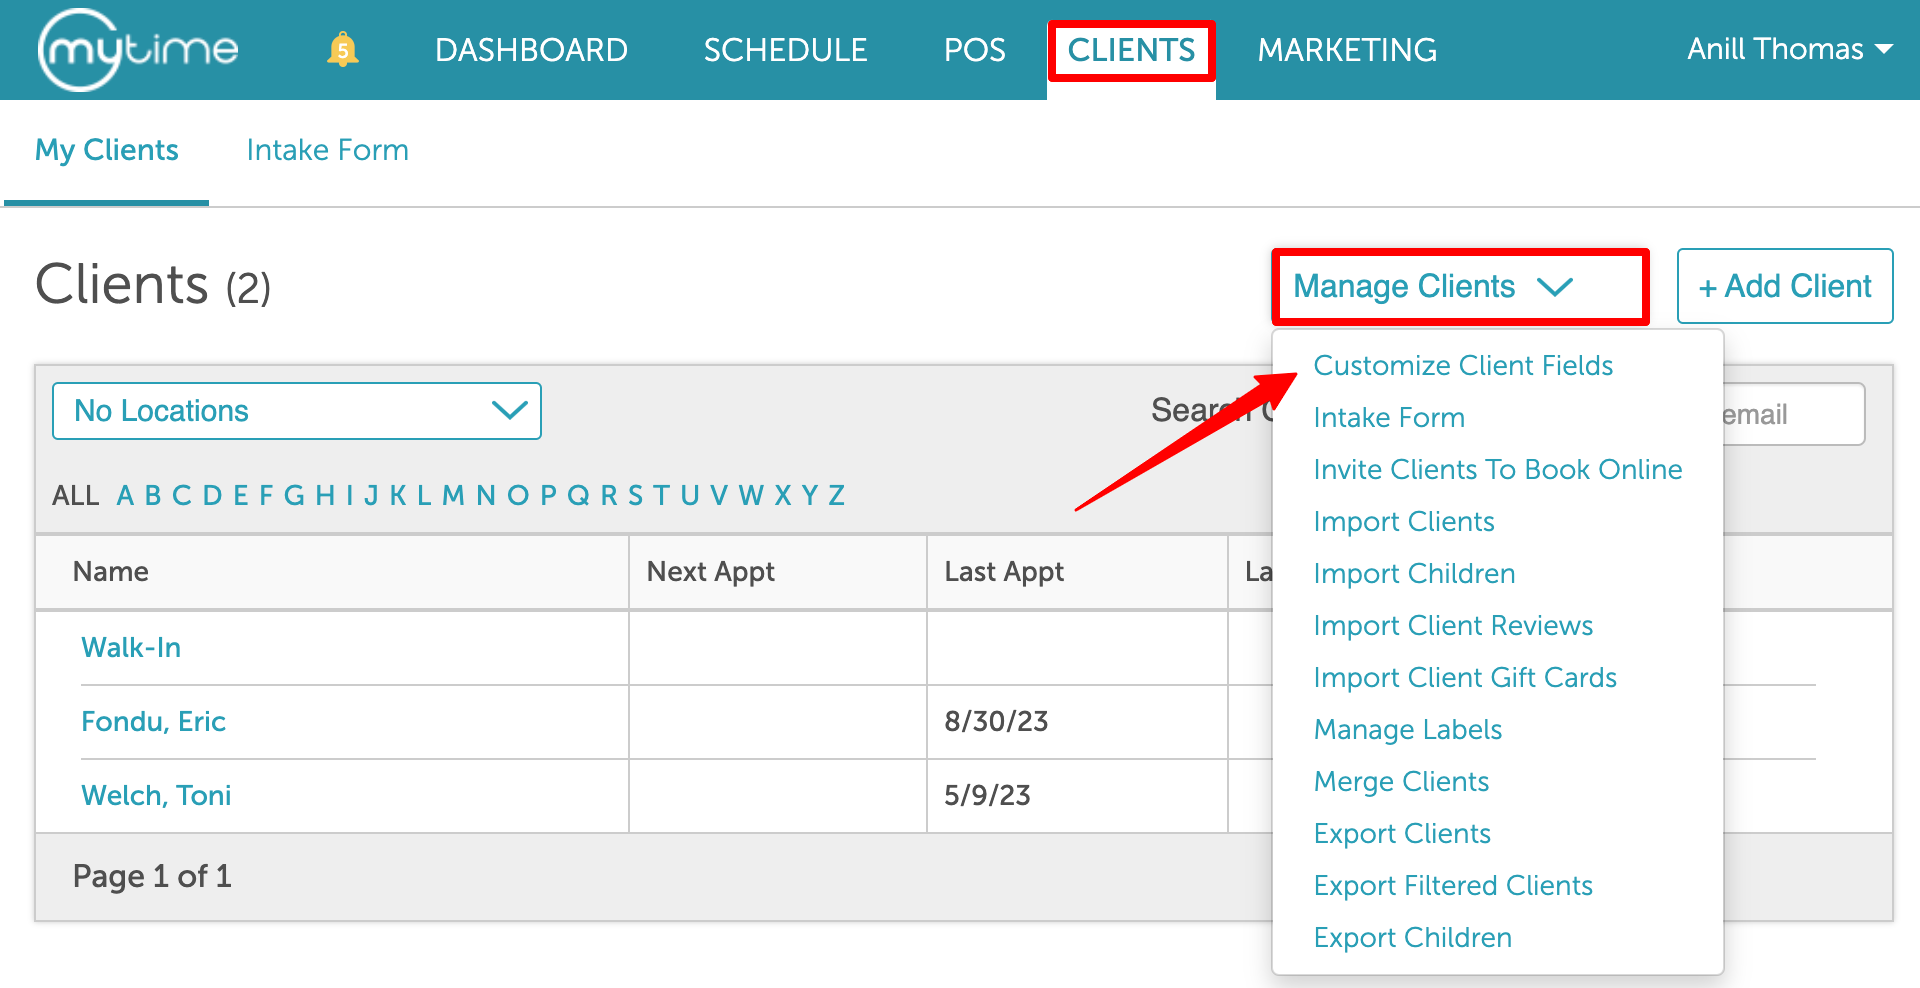
- Navigate to the Clients tab > Manage Clients > Customize Client Fields
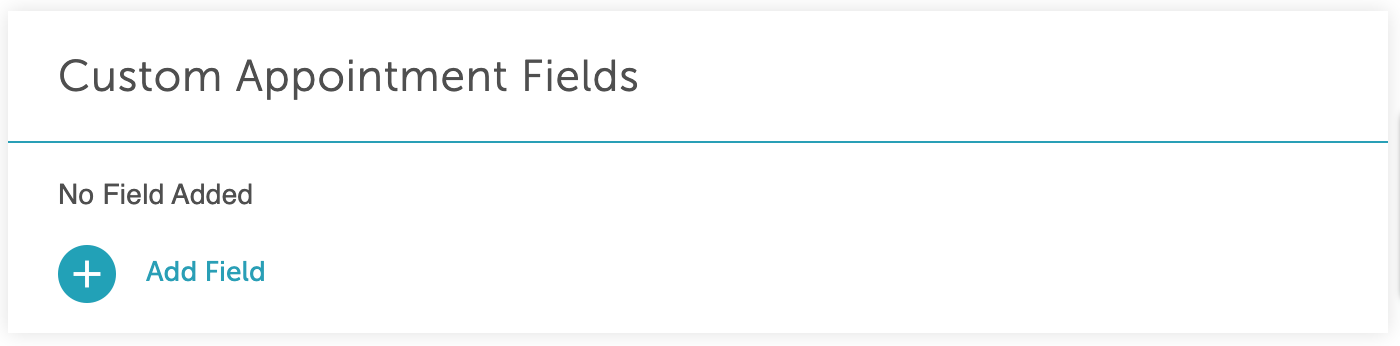
- Scroll down to the "Custom Appointment Fields" section and click Add Field
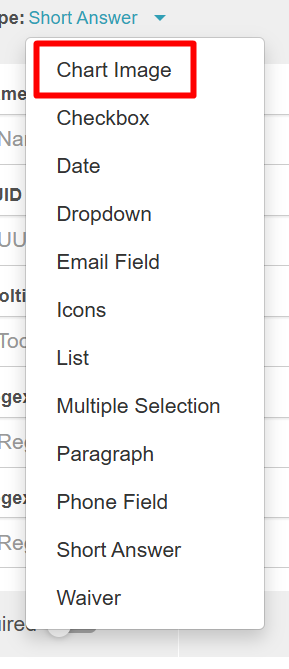
- From the dropdown in the 'Field Type' section to select 'Chart Image' from the list
- Configure the basic field details
- Field name: Enter an internal descriptive title (e.g., Acupuncture Body Map or SOAP Notes Dental Diagram).
- Tooltip: Add practitioner-facing guidance (e.g., "Annotate targeted areas with drawing tools and complete overlay fields during treatment").
- Diagram/chart image: Upload your chart image (.png or .jpeg). Leave this blank if you prefer a blank white canvas.
- Add interactive inputs directly to the image: You can place interactive fields directly onto the image canvas:
- Select an input type: Text Box, Dropdown, Number, Date, or Checkbox.
- Click anywhere on the image preview to position the field.
- Configure input settings:
- Field Name / Label: Enter the label text for the input.
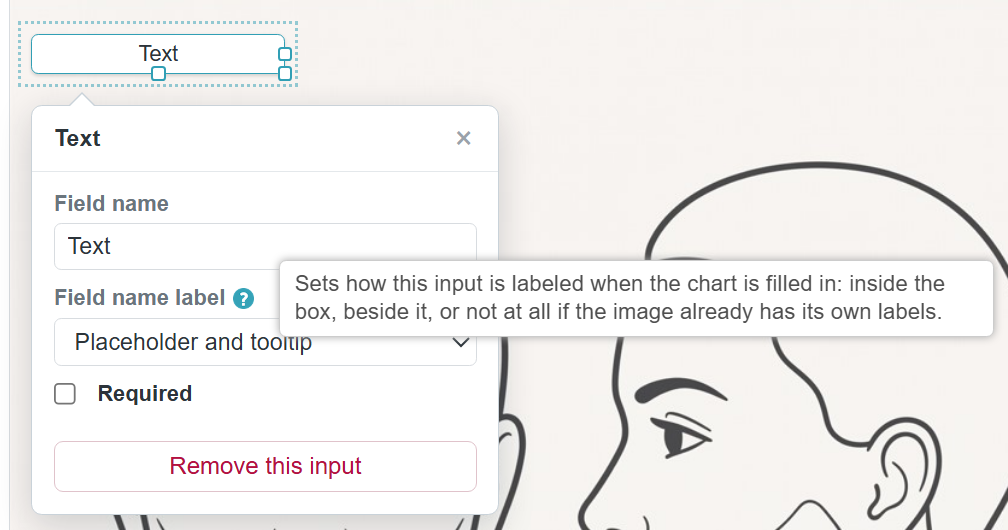
- Label Position:
- Above the field: Places the label directly above the input box.
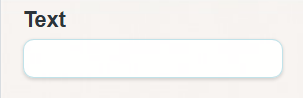
- Left of the field: Aligns the label horizontally to the left of the input box.
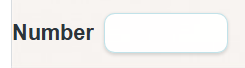
- Beside the tick box: Aligns the label adjacent to the box (available only for checkboxes).
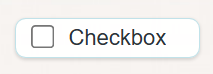
- Don't show: Keeps the input visible while hiding the label.
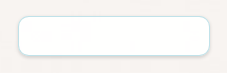
- Placeholder & Tooltip: Add hint text inside the field or an info tooltip for additional guidance.
- Resize: Drag the edges to adjust the width and height of the input.
- Required: Check this box if the input must be completed before saving.
- Above the field: Places the label directly above the input box.
- Field Name / Label: Enter the label text for the input.
- Set Up Drawing and Annotation Controls:
- Enable visual annotations: Check Drawing on chart to allow staff to sketch or mark directly on the image during appointments.
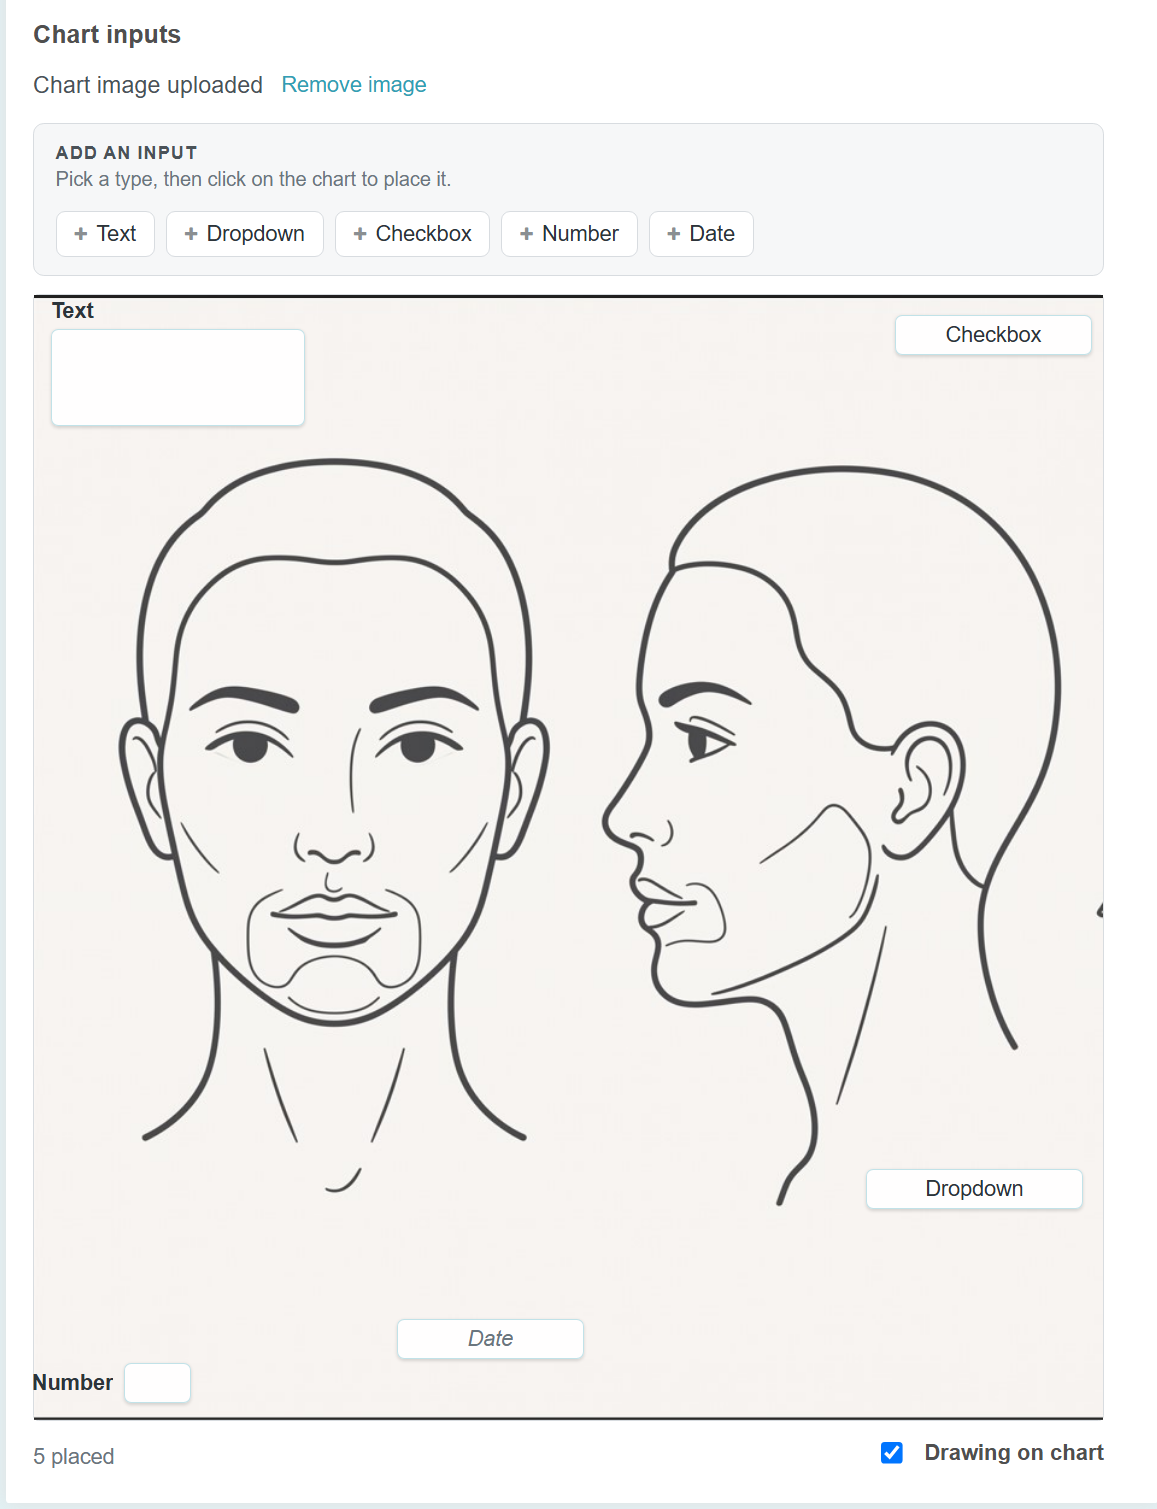
- Enable visual annotations: Check Drawing on chart to allow staff to sketch or mark directly on the image during appointments.
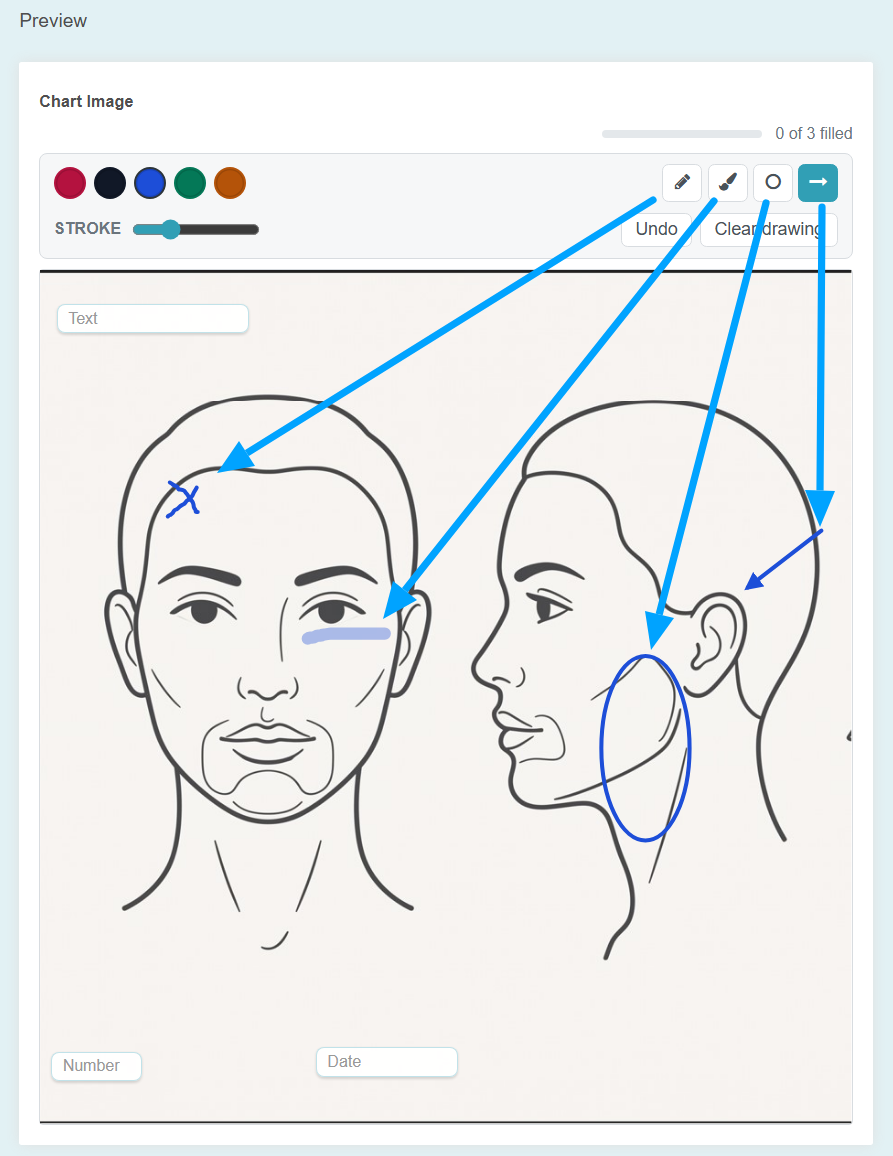
Configure annotation options and default controls:
Colors: Choose available color swatches (Red, Black, Blue, Green, Brown).
Stroke Width: Set the default line and shape thickness using the slider.
Tools: Select which tools practitioners can use (Pen, Marker, Circle, Arrow).
Actions: Enable Undo (removes the last stroke) and Clear Drawing (resets the canvas).
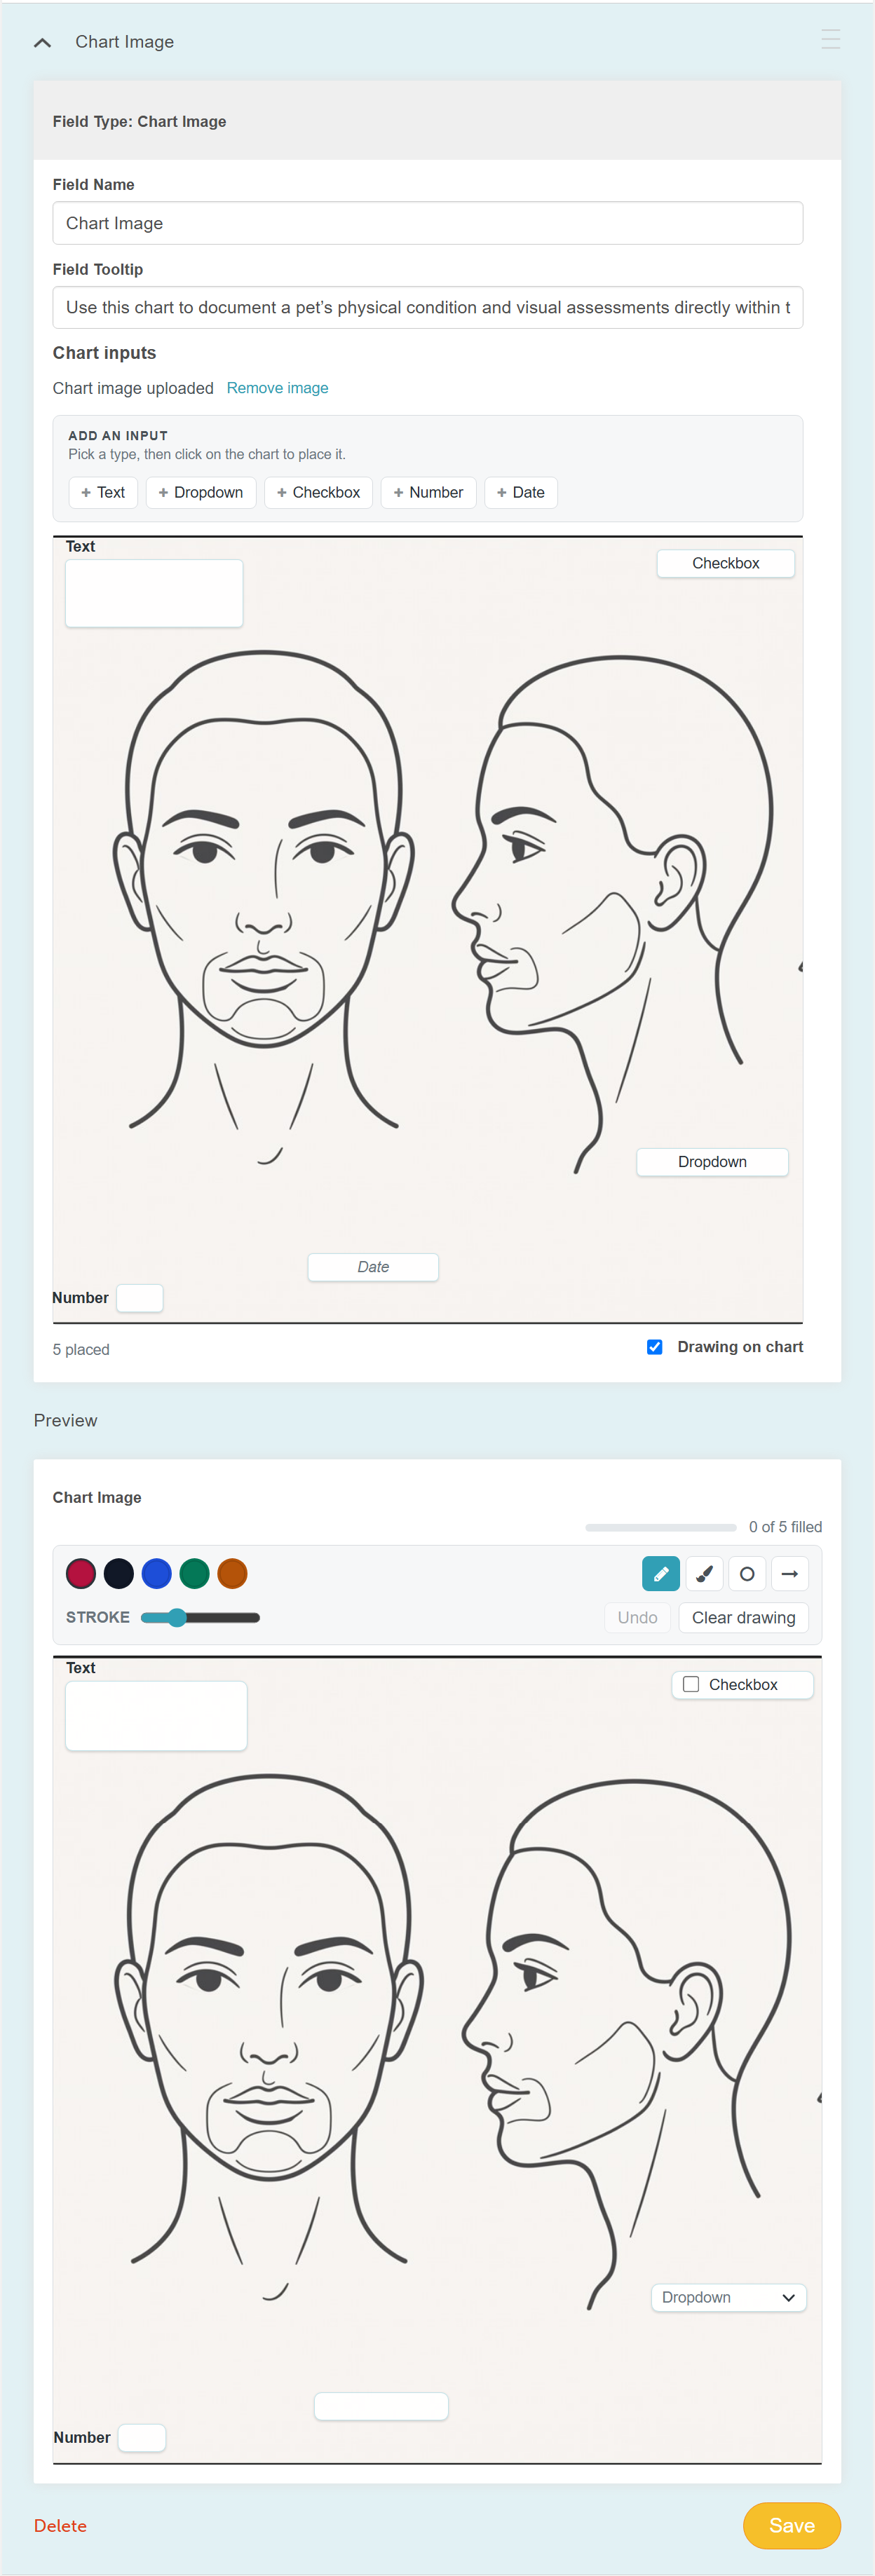
Click Save
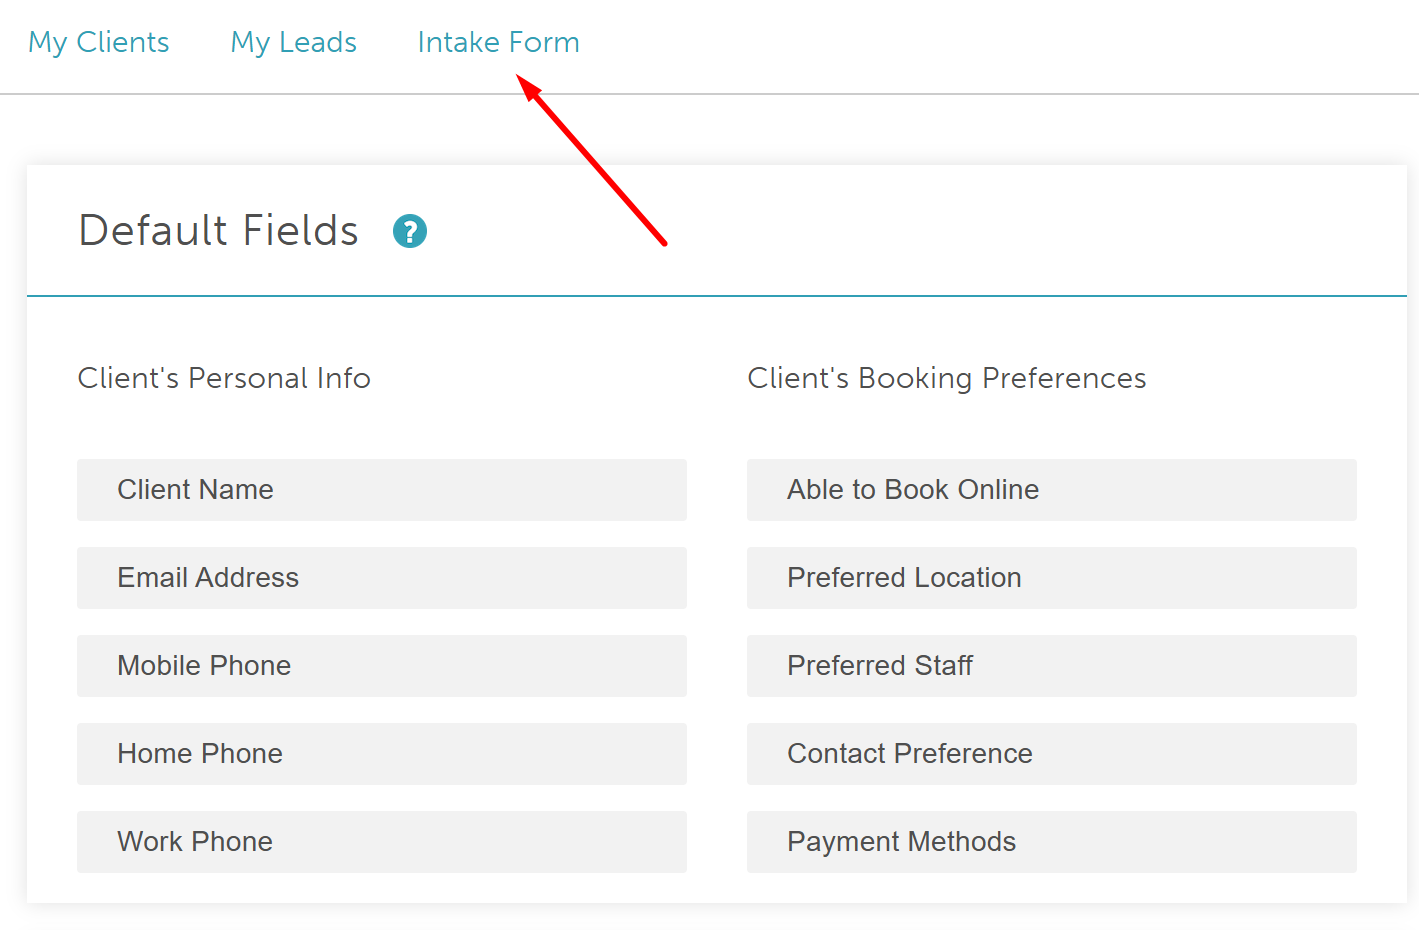
- Navigate to the Intake Form tab
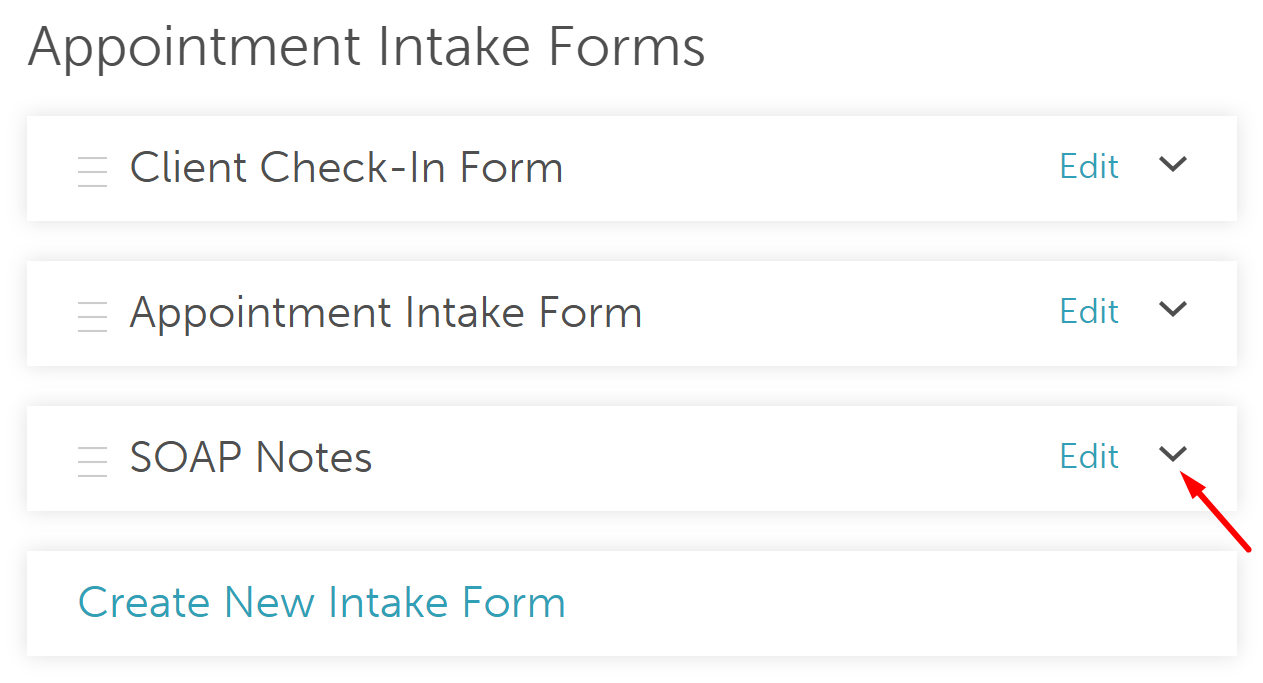
- Locate your Staff Intake form (SOAP Notes) and click the arrow (chevron) on the right to expand it.
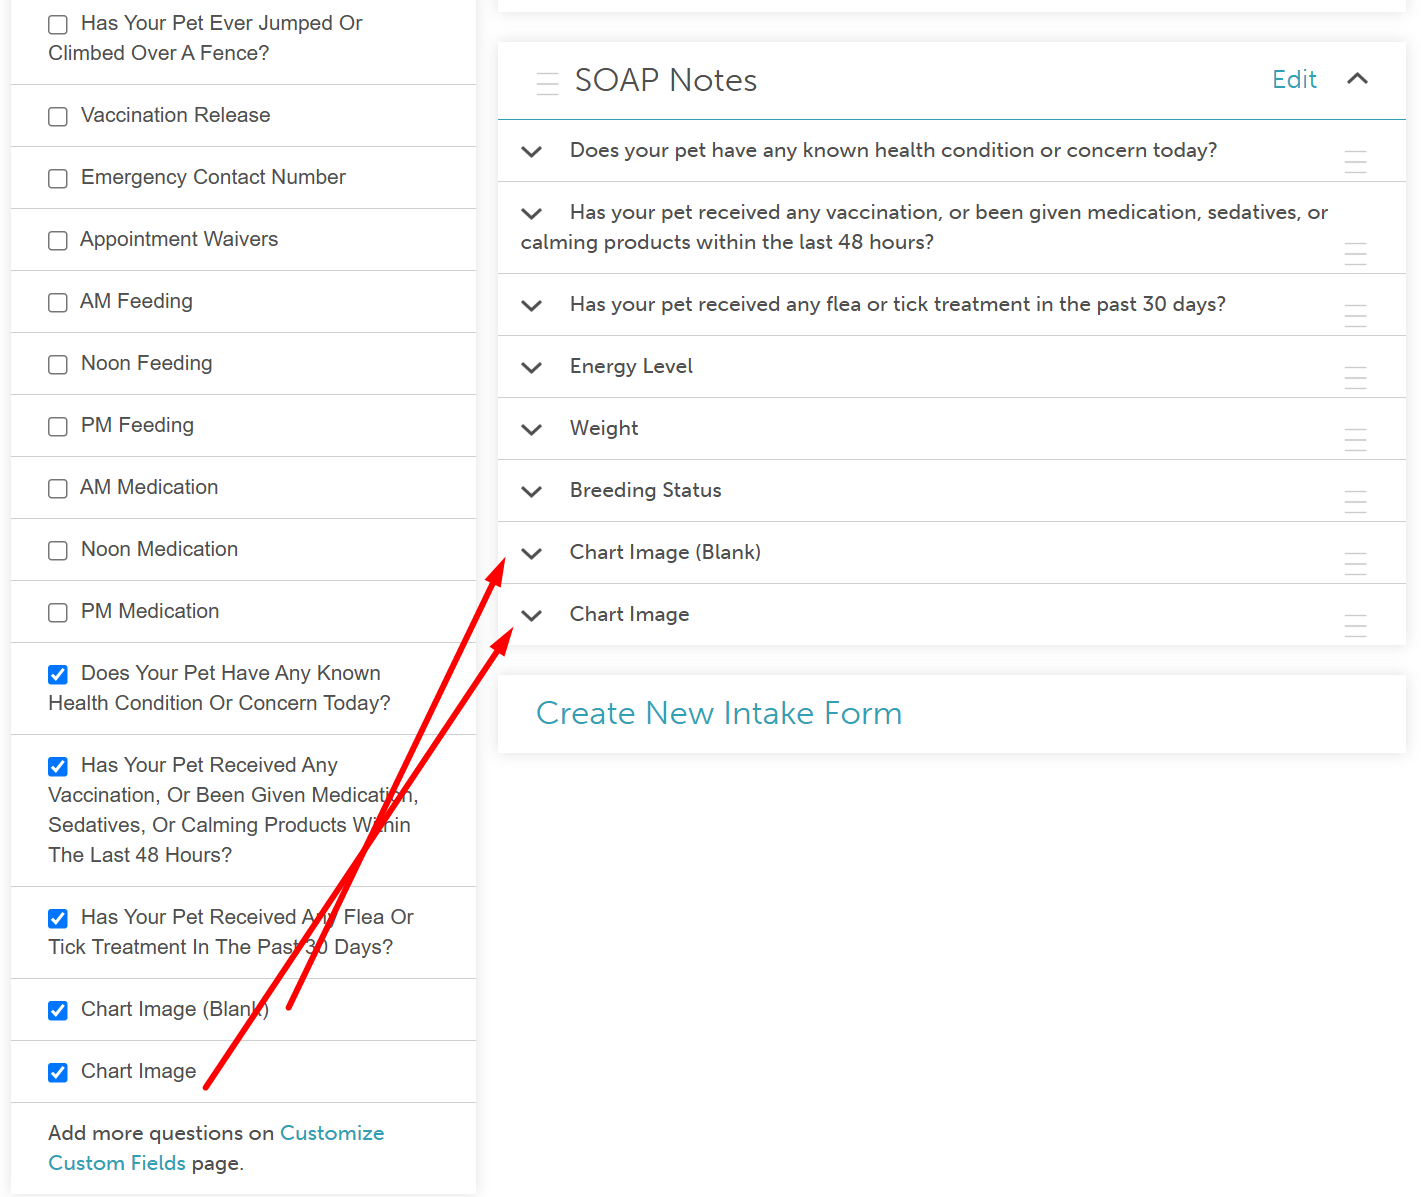
- On the left sidebar, find the list of custom fields (including the Visual Chart field) and check the box next to each field you want to include on your form
Visual Charting (Chart Image Custom Fields) on Appointments
- Navigate to the Schedule and filter by the desired location and date
- Open the specific appointment
- Click the Staff Intake form (SOAP Notes) hyperlink
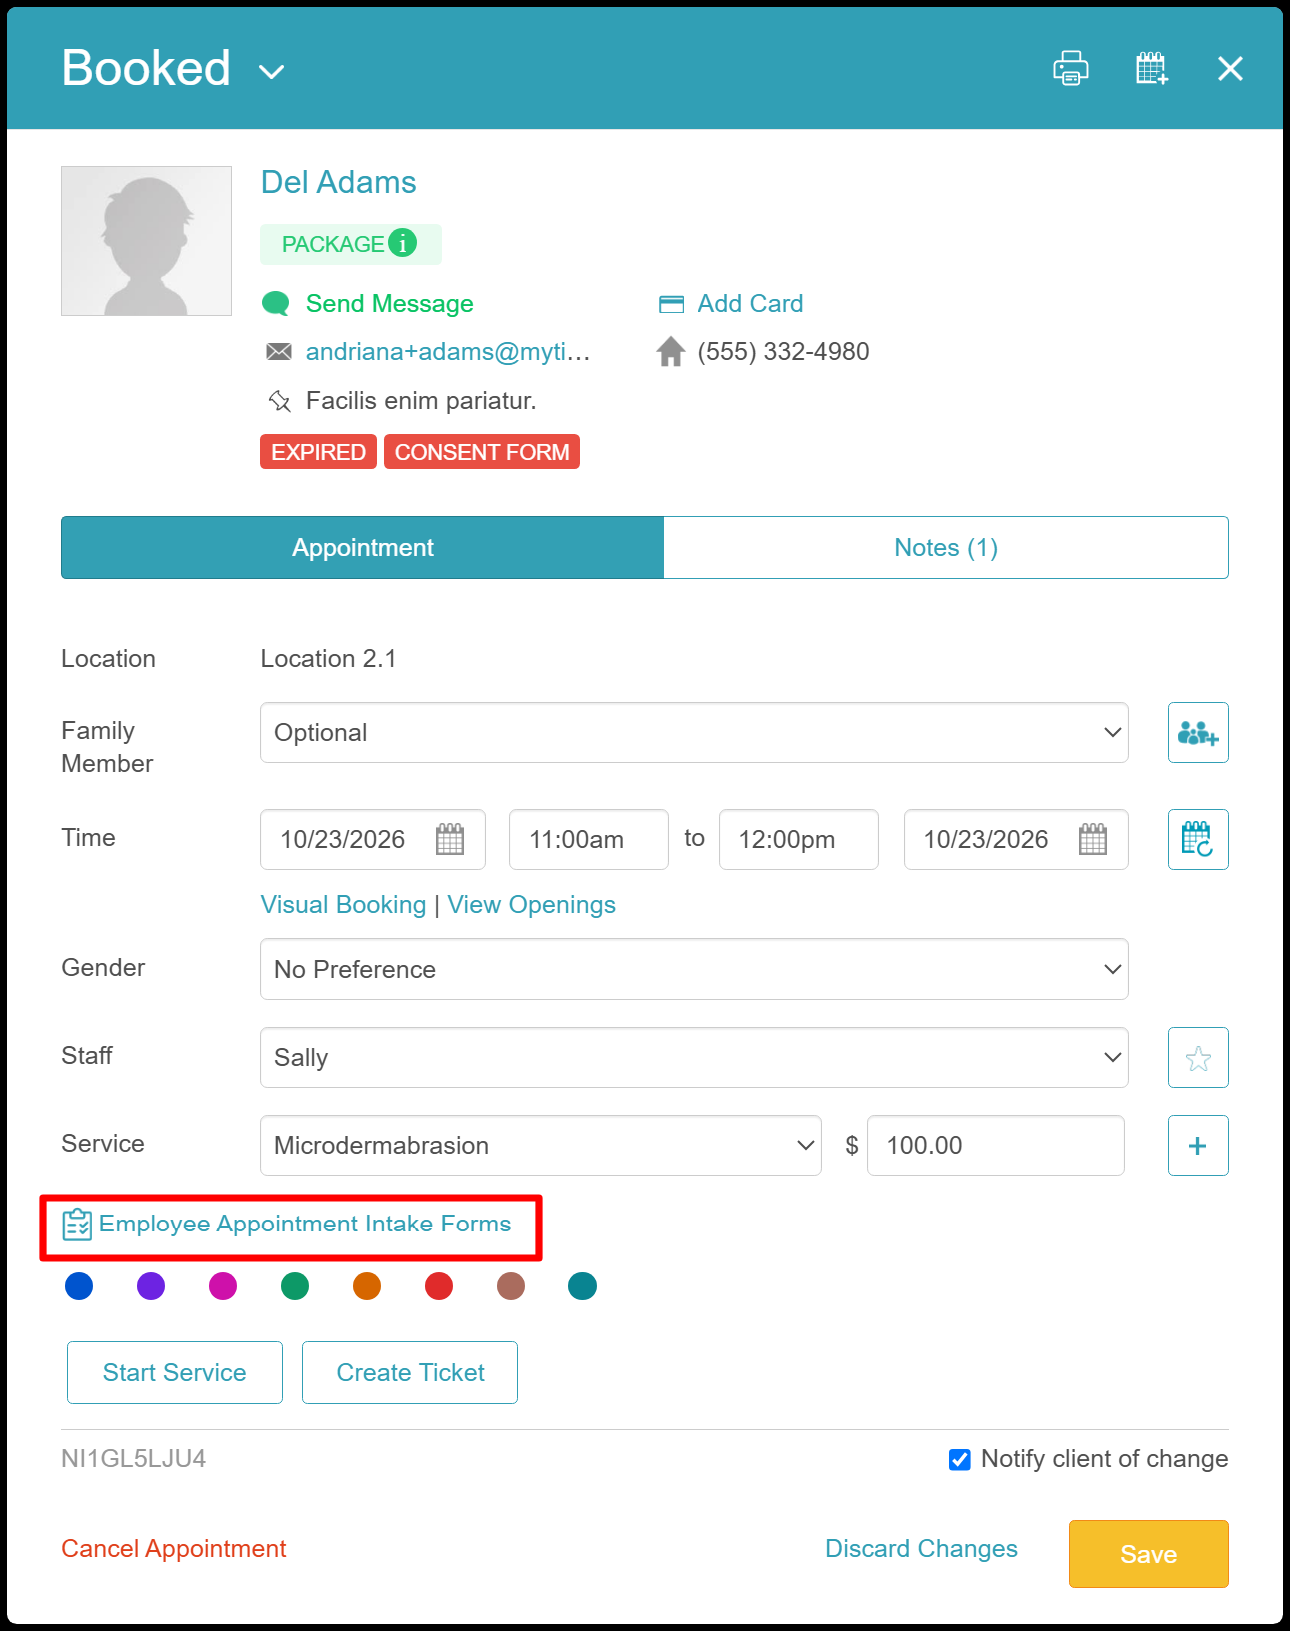
If multiple forms are configured, select the correct form tab at the top of the window.
Complete the visual chart:
Enter information directly into the text fields, numbers, dates, or checkboxes overlaid on the diagram.
Use the drawing tools to mark up regions on the diagram.
Click Save to finalize the record. All inputs and drawing layers will be securely frozen and stored with the appointment
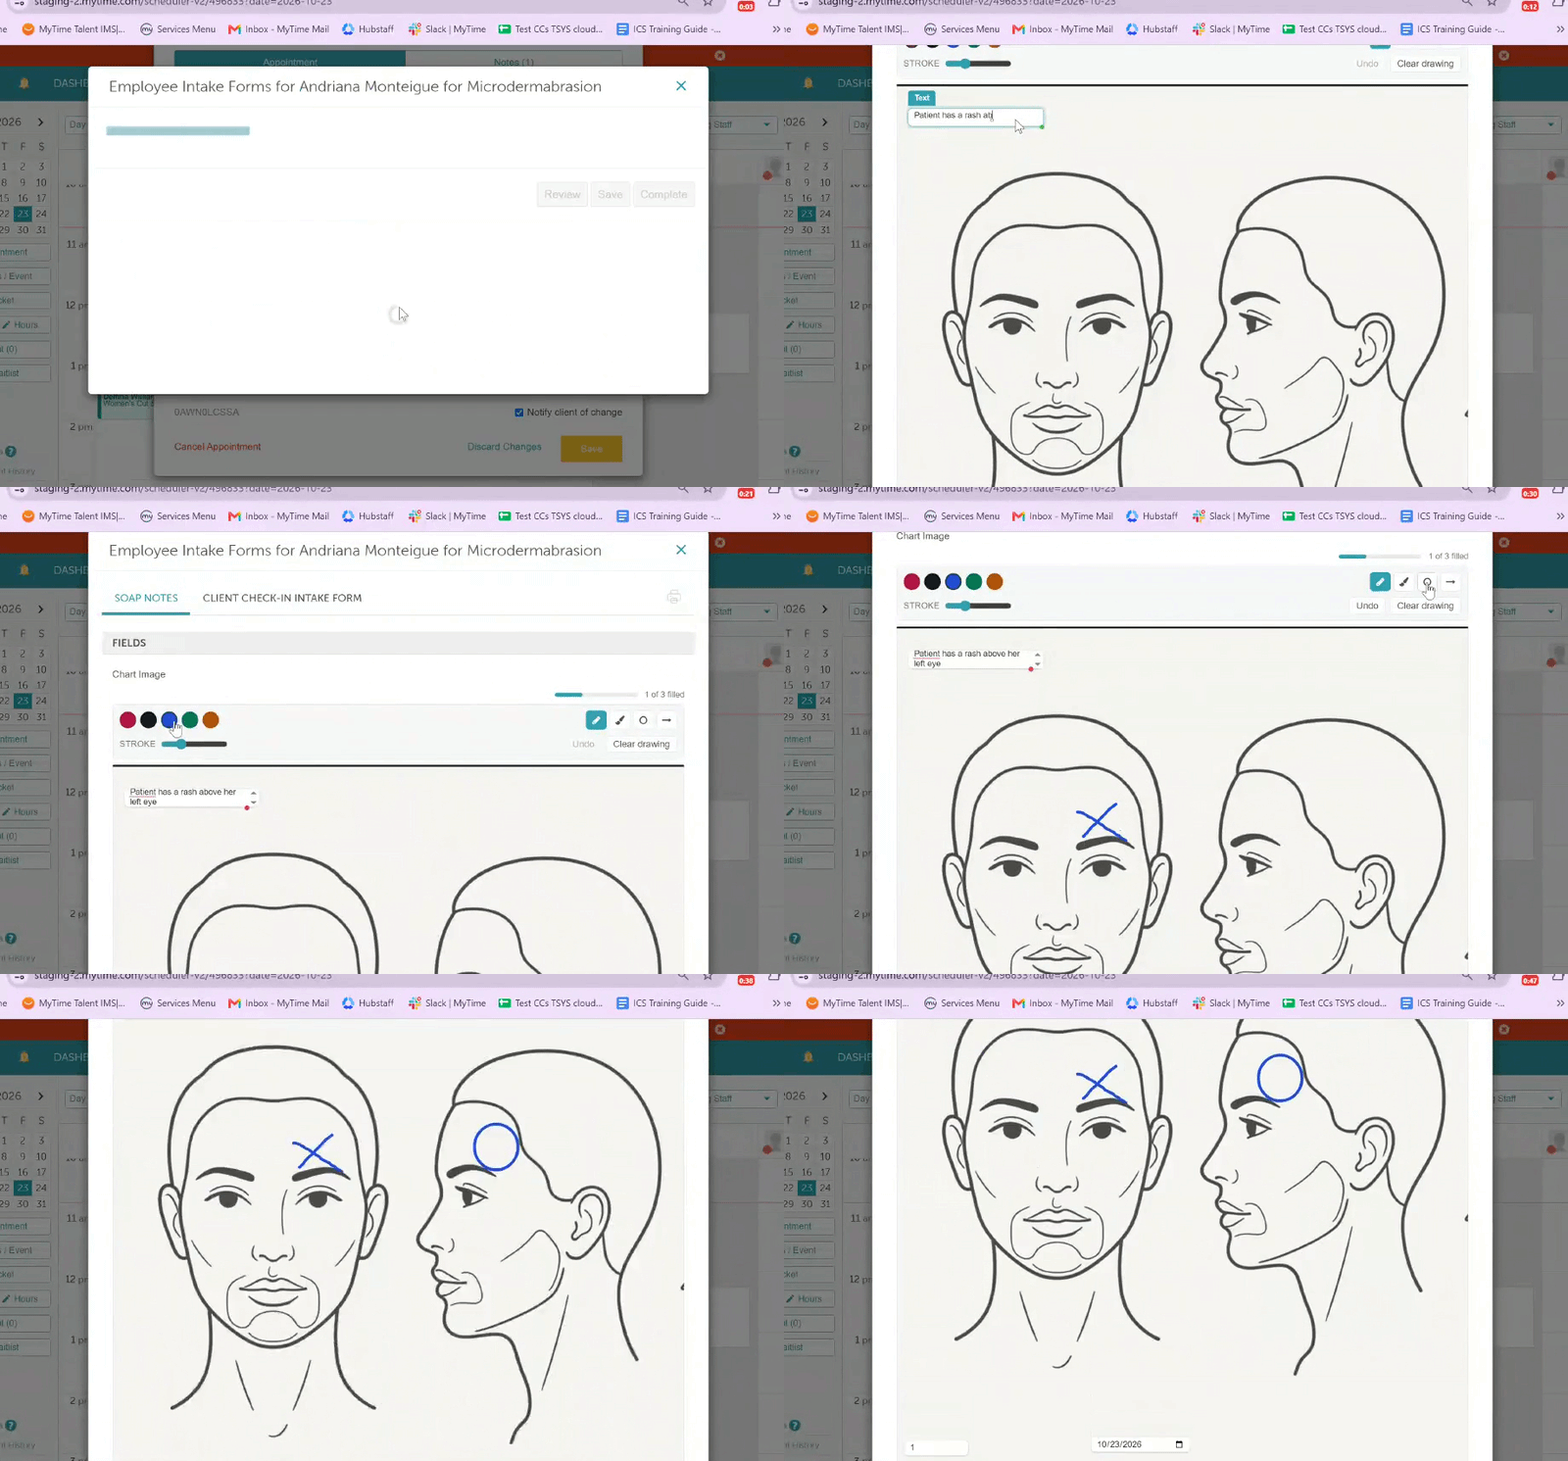
Review/Save/Complete the form
Once an appointment note with a chart image is filled in and saved, its inputs, layout, and background image are frozen
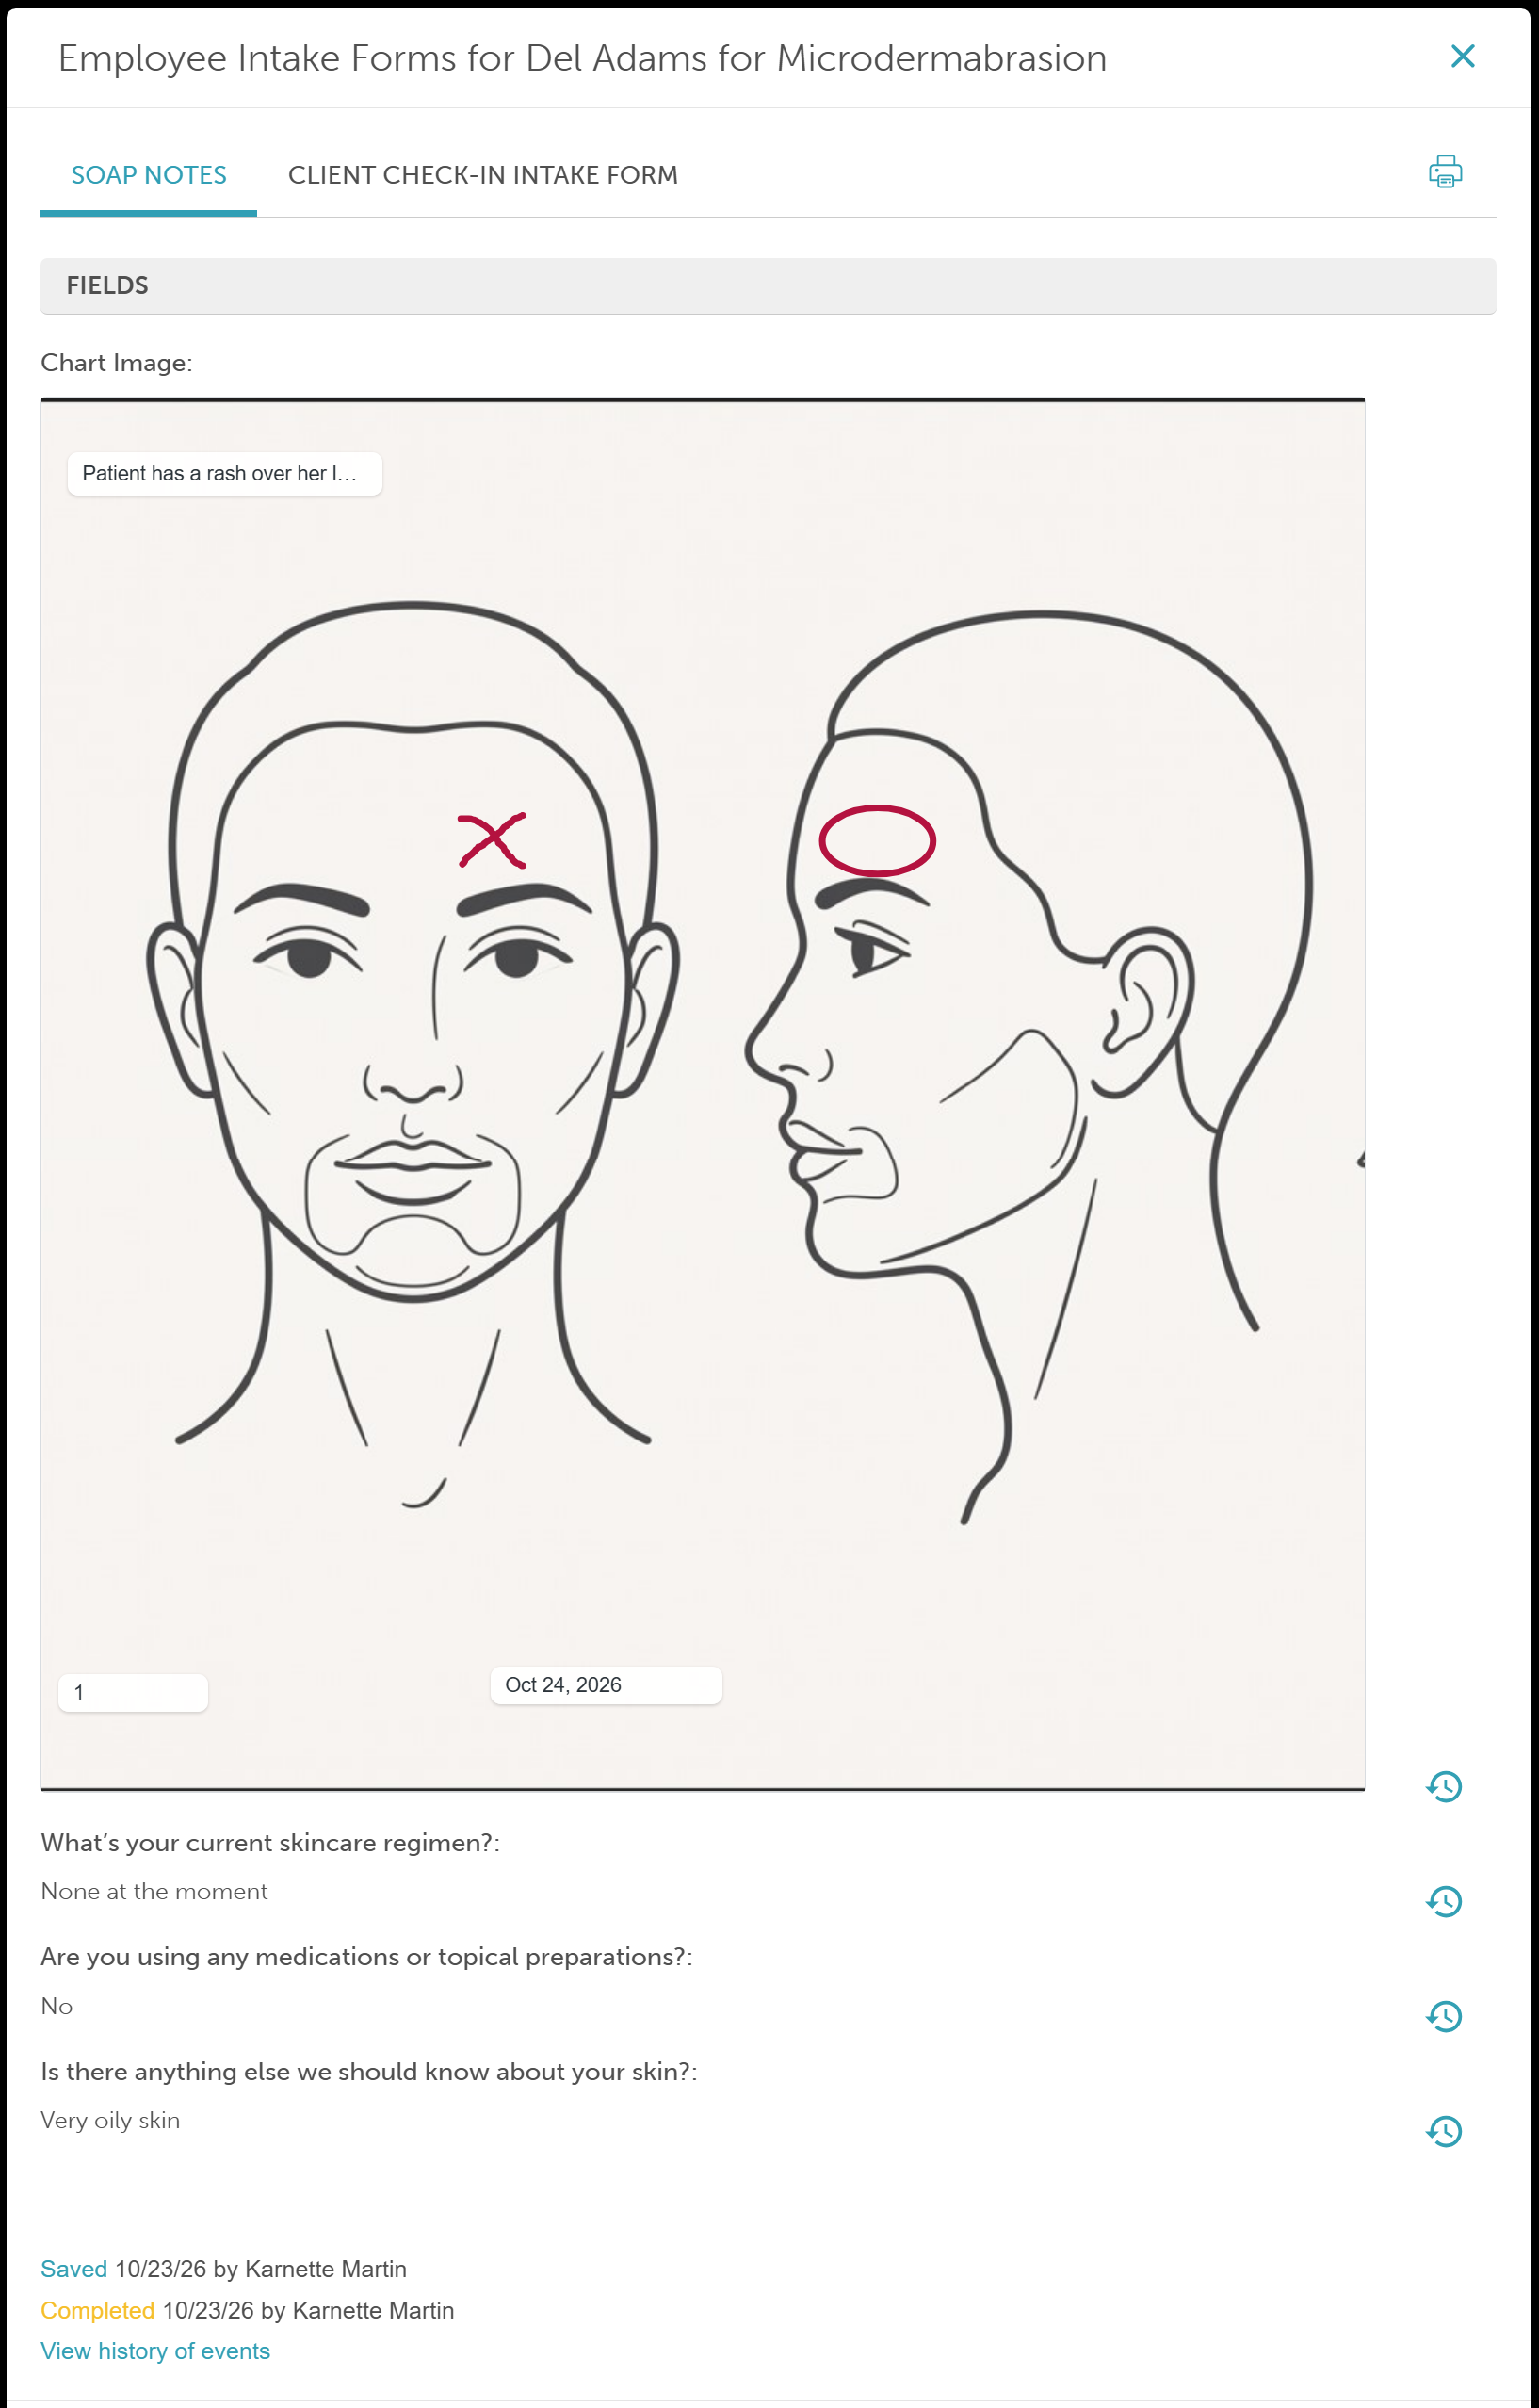
Click Save to complete the appointment. All data inputs and drawing layers are securely stored
For more information, contact us at support@mytime.com or (385) 233-6964.
Related Articles:
Creating Employee Intake Form (SOAP Notes)
Was this article helpful?
That’s Great!
Thank you for your feedback
Sorry! We couldn't be helpful
Thank you for your feedback
Feedback sent
We appreciate your effort and will try to fix the article