Prepaid Services are services that clients pay for before the actual appointment occurs. This can happen when a client pays in full via credit card or gift card during online booking, or redeems a membership or package credit.
Things to know:
- For prepaid services covered by credit cards, MyTime places a hold on the client's card and authorizes the charge 2 hours after the appointment is completed. In the event you want to adjust the final amount (e.g., add new services or tips) before the credit card transaction finalizes, you can edit prepaid tickets before or during this 2-hour window.
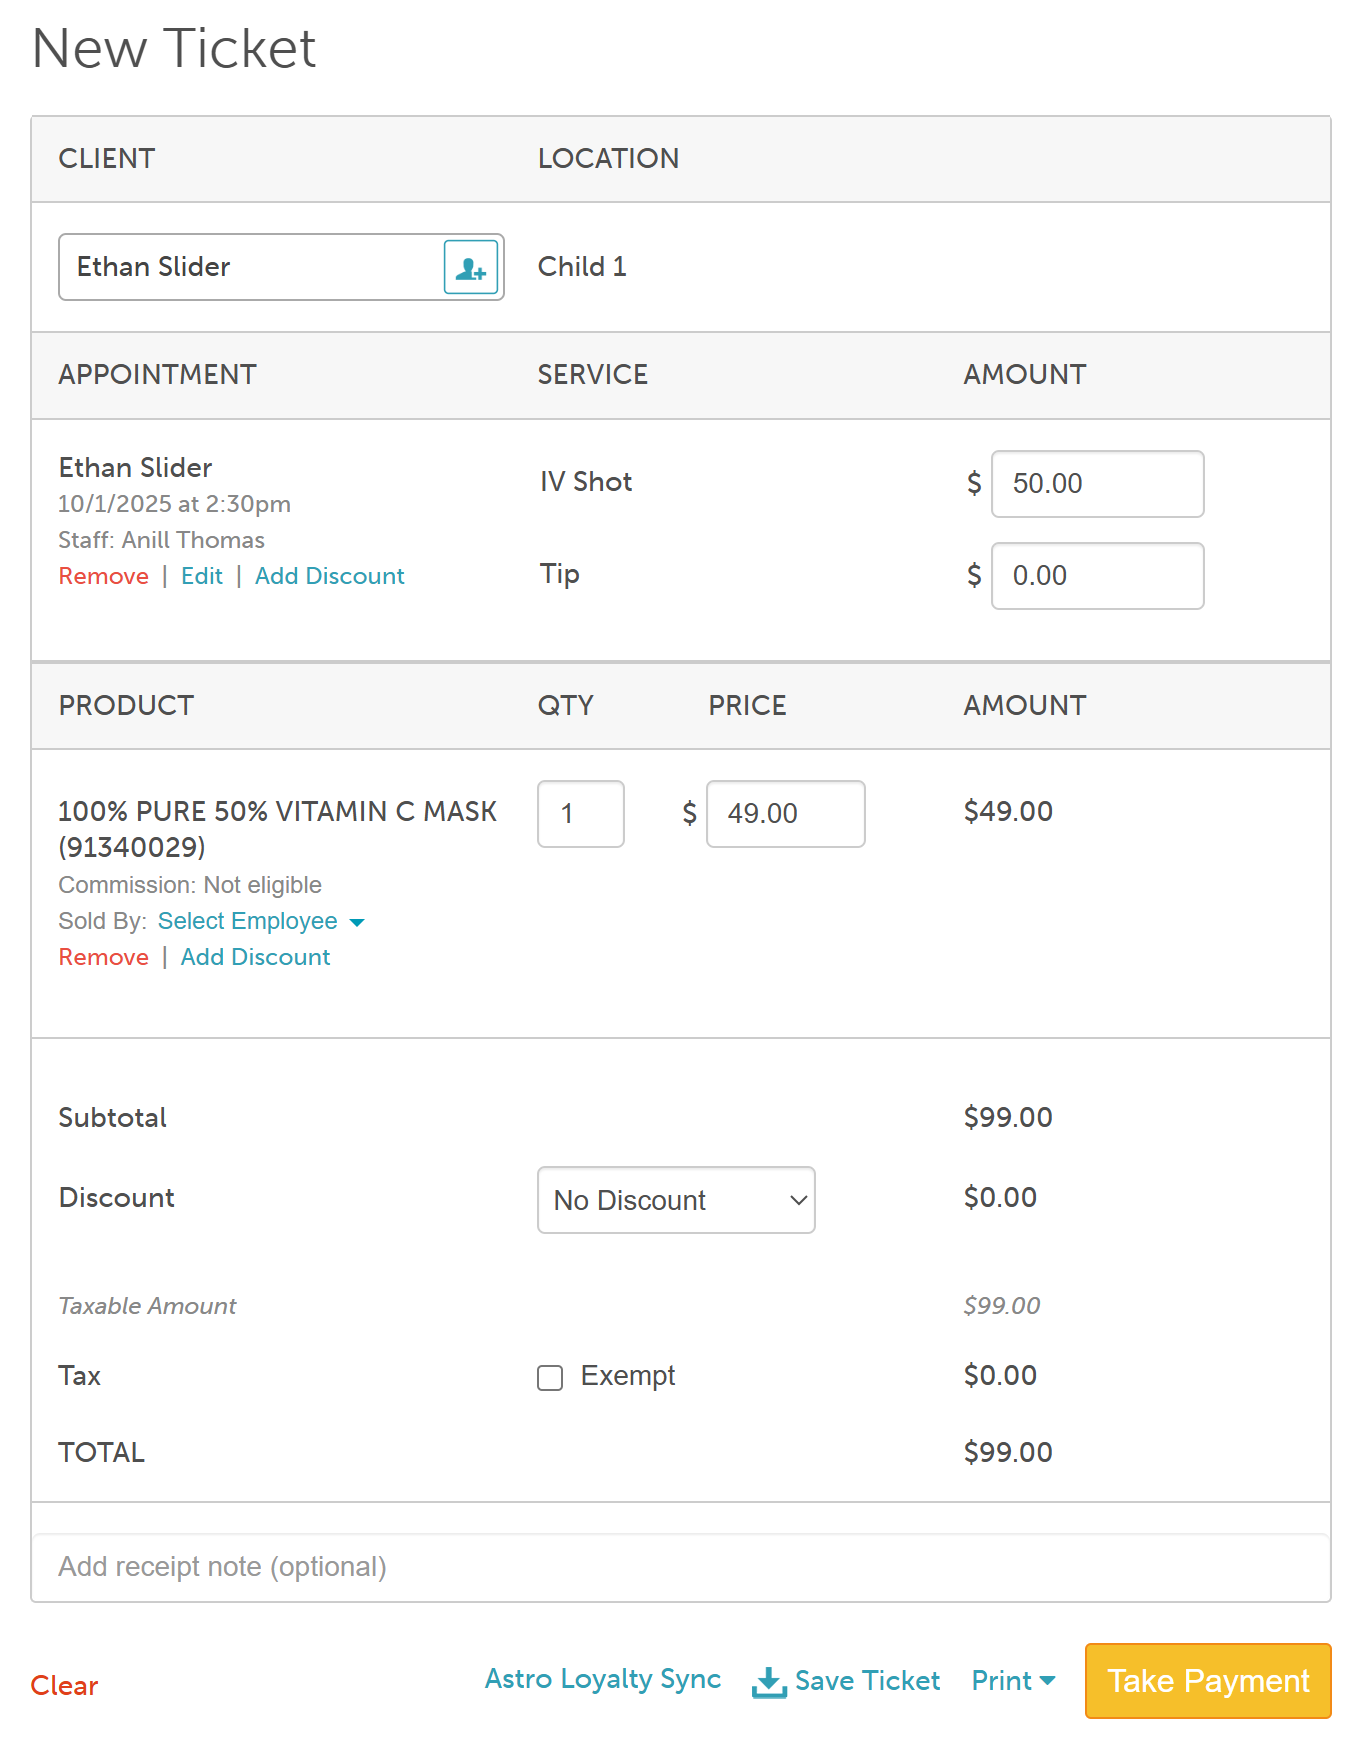
- Prepaid tickets will appear on the appointment date in the “Services” sidebar on the POS → New Ticket page and under the Open Tickets report in POS. They can also be accessed from the appointment modal on the schedule and from the client’s profile.
- For prepaid appointments booked online, you can adjust the service price in POS even after the payment has been processed.
- Prepaid appointments cannot be transferred to a new ticket
- Once the prepaid ticket is closed, it cannot be edited
The button displayed when editing tickets with/without deposits depends on your "Accept online payments through MyTime?" setting found on the Business Setup > Payments & Deposits page.
If "Yes, require online payment to book online" is selected, the 'Close Ticket' button is shown when:
The ticket required a full deposit and a product is added in-store → The product value is added to a new pending transaction.was
The ticket required a partial deposit, and a product is added in-store → The product value is added to the pending transaction.
The ticket required no deposit, and a product was added in-store → The product value is added to a new pending transaction.
If "No, only take payments in person" is selected, the 'Take Payment' button is shown when:
The ticket required a full deposit, and a product was added in-store
The ticket required a partial deposit and a product was added in-store
The ticket required no deposit and, a product is added in-store
If "Let clients choose whether to pay online or in person" is selected, this works the same as “require payment online” if the client selects pay online, or the same as “in-person only” if the client selects pay in person.
To edit prepaid tickets:
1. Navigate to POS
2. On the new ticket page, all open (not settled automatically by the system) prepaid tickets will appear in the “Services” sidebar for the current date and past dates
3. Click to open the ticket

4. A pop-up will appear indicating that payment has already been taken on the ticket. Select "Yes" on the pop-up.

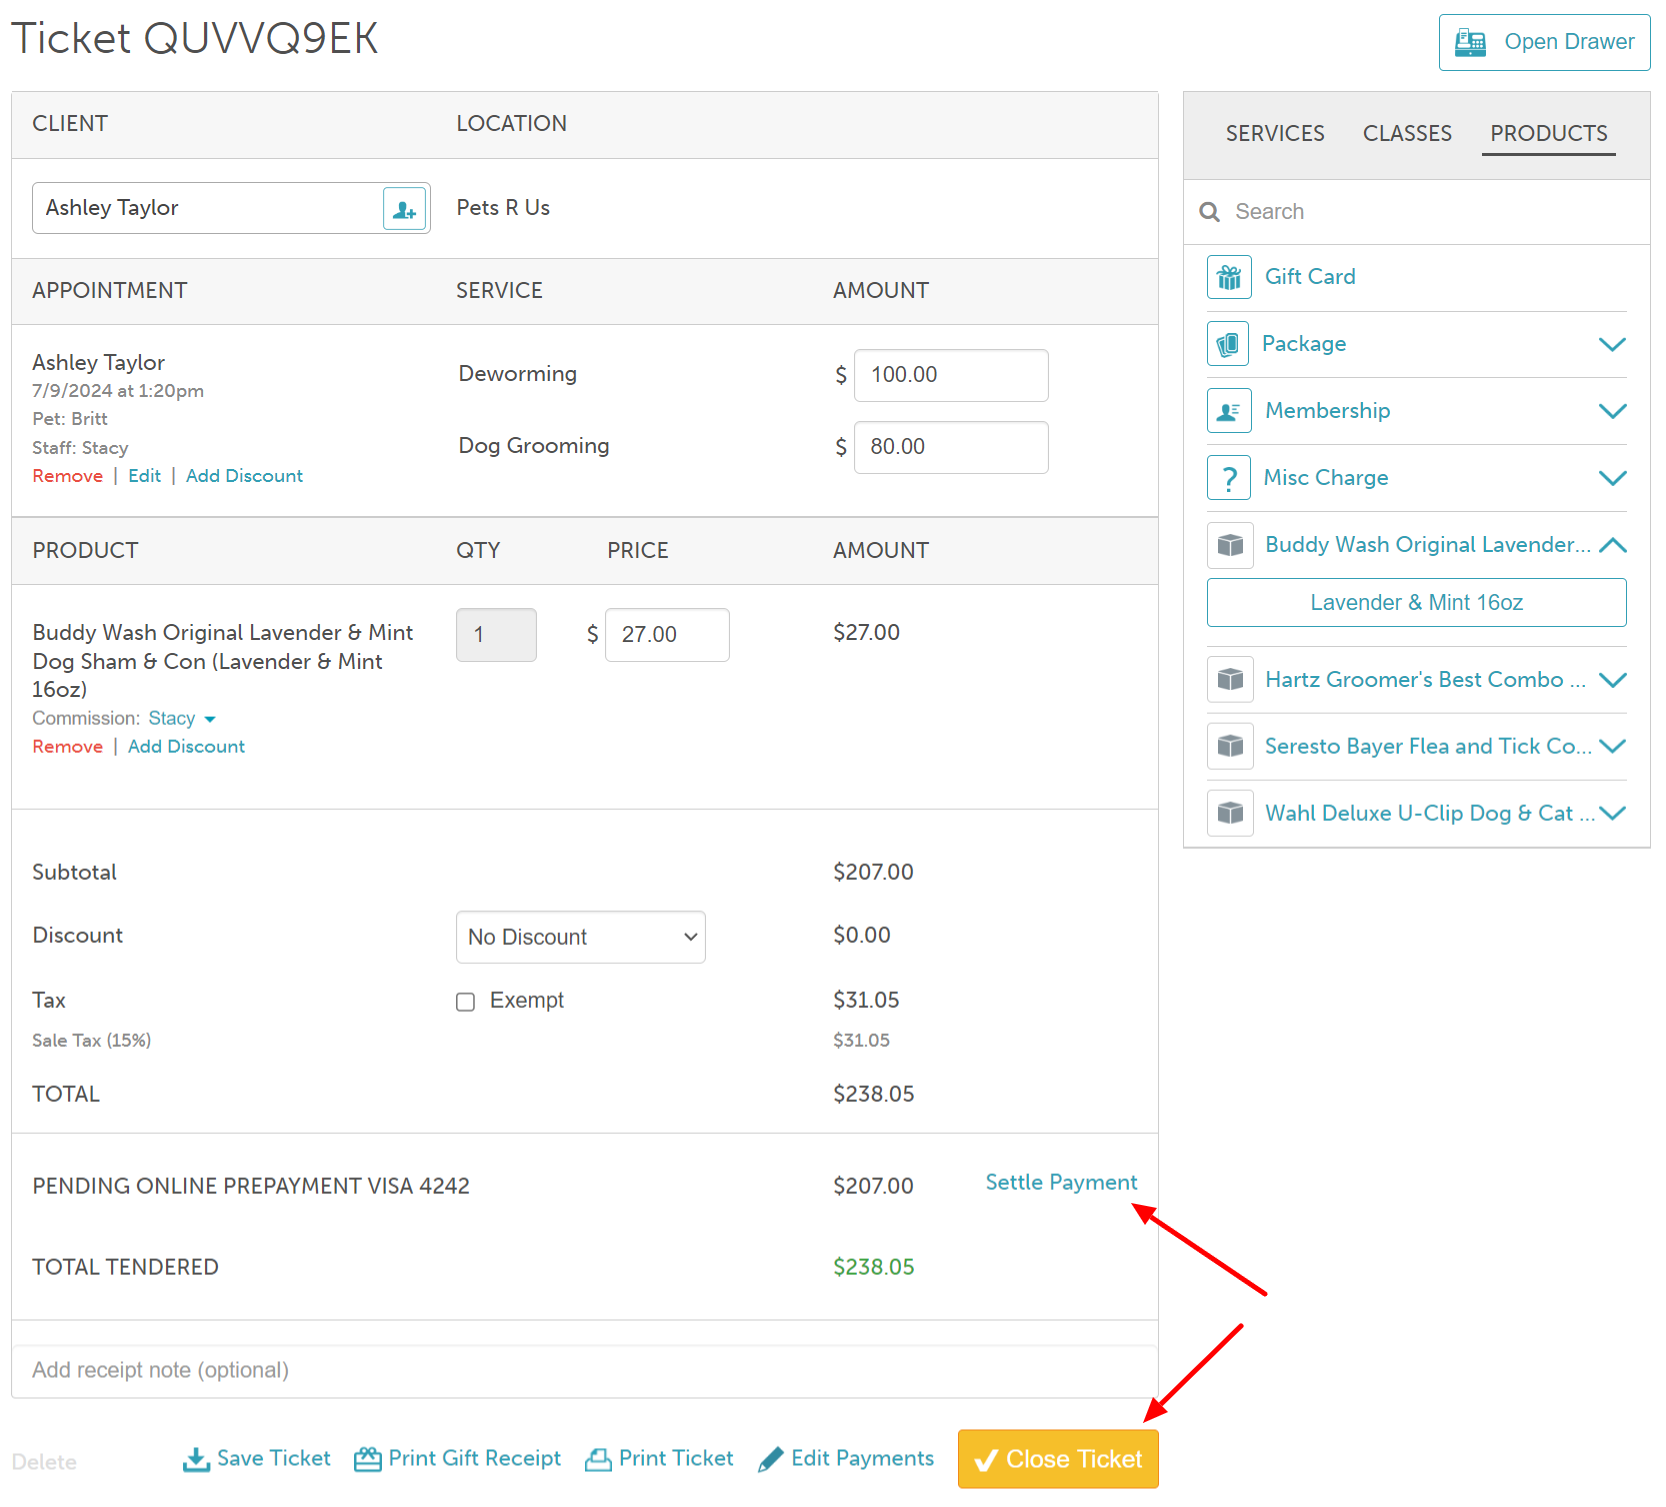
5. Once opened, the ticket will behave like any other POS ticket with pre-payment on it. The last 4 digits of the card, along with the 'Settle Payment' link, will be displayed

6. Before settling and closing the ticket, you can make updates as needed:
- Changes to existing services (e.g., adding a tip, adjusting service price, or applying add-ons) will be reflected in the pending credit card payment.
- New items such as gift cards, products, memberships, or packages will be payable based on your online payment configuration:
- If the 'Accept online payments through MyTime?' payment setting is set to 'Yes, require online payment to book online', additional charges will be added to the pending online transaction.

- If the payment setting it is set to 'No, only take payments in person', the Take Payment button will appear, allowing you to process payment in-store.

- If the 'Accept online payments through MyTime?' payment setting is set to 'Yes, require online payment to book online', additional charges will be added to the pending online transaction.
7. Finalizing the Ticket:
- Use the Settle Payment link to settle the credit card payment. Here, you can choose to add a tip before selecting Charge.

- Select the Close Ticket button. Two hours after the appointment is completed, the ticket will close automatically, and no further processing will occur—just like other prepaid online tickets.

The ticket will appear in the Closed Tickets report and remain accessible from both the client profile and appointment modal. 
For more information, contact us at support@mytime.com or (385) 233-6964.
Related Articles:
Was this article helpful?
That’s Great!
Thank you for your feedback
Sorry! We couldn't be helpful
Thank you for your feedback
Feedback sent
We appreciate your effort and will try to fix the article