Giving clients more ways to sign up means fewer obstacles between them and completing a booking. Clients can use their existing Google, Apple, or Facebook account to sign in across the booking widget, express checkout, and the Branded Guest App—a convenient alternative to the standard email and password login that works across every client-facing touchpoint your business uses. This guide walks you through the step-by-step process your clients experience when signing up via your booking page.
Things to know:
- By default, MyTime matches existing in-store profiles with new online accounts based on first name and email address. To have clients and users be matched based solely on their email is managed by a hidden setting and is disabled by default. To enable the hidden setting, please contact our support team at support@mytime.com. Learn more here
- If a client signs up using the same email and first name or social platform credentials as an in-store profile, the accounts will be synced. If the email matches but the name differs or the social platform credentials do not match the account credentials, a new profile is created.
- If an email address is not found in the system, a new MyTime user account will be generated.
- A phone number is only required during sign-up if the "Client Records must have a phone number" hidden setting is enabled on your account.
- Clients accessing a direct Loyalty Points URL (https://www.mytime.com/express_checkout/manage/account/CompanyID/loyalty-program?parent=true) will be taken straight to their points dashboard immediately after completing the sign-up process.
- Social Sign-Up Troubleshooting: When signing up with a social media account (such as Google, Facebook, or Apple), you may encounter one of the following conflicts. Use these steps to resolve them:
- Email Conflict (Unlinked Accounts): This occurs when a MyTime profile already exists with your email address, but it has not yet been "connected" to your chosen social media platform.
- Error Message: "An account with this email already exists."
- The Fix: Sign in to MyTime using your standard email and password first. Once logged in, navigate to your My Account page, locate the Connected Accounts section, and manually link your social provider there.
- Provider Already Linked to Another Profile: This occurs if your social media account is already tied to a different MyTime profile (for example, an old account or one created using a different email address).
- Error Message: "This [Provider] account is already connected to another user."
- The Fix: You must first log in to the other profile, navigate to the My Account page, find the Connected Accounts section, and disconnect the social account. Once disconnected, you can link it to your current profile.
- Email Conflict (Unlinked Accounts): This occurs when a MyTime profile already exists with your email address, but it has not yet been "connected" to your chosen social media platform.
Contents:
- Creating an Account Using Email & Password
- Creating an Account Using Facebook
- Creating an Account Using Apple
- Creating an Account Using Google
- Creating an Account at Checkout
- Frequently Asked Questions
Clients can register or create an account when they visit your website or booking widget, either through the sign-in modal or during the checkout process using email and password credentials, Facebook, Google, and/or Apple.
Creating an Account Using Email & Password
To create an account using the sign-in modal with email and password credentials, your clients should:
- Navigate to your website
- Select their preferred location (if the business has multiple locations)
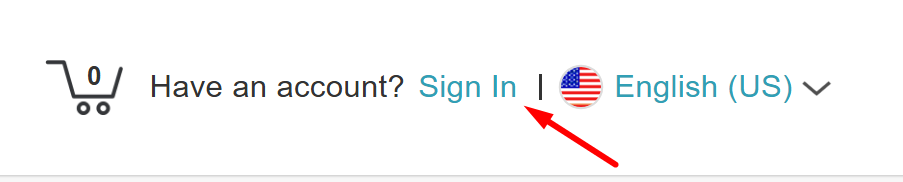
- Click on the "Sign In" option at the top of the page
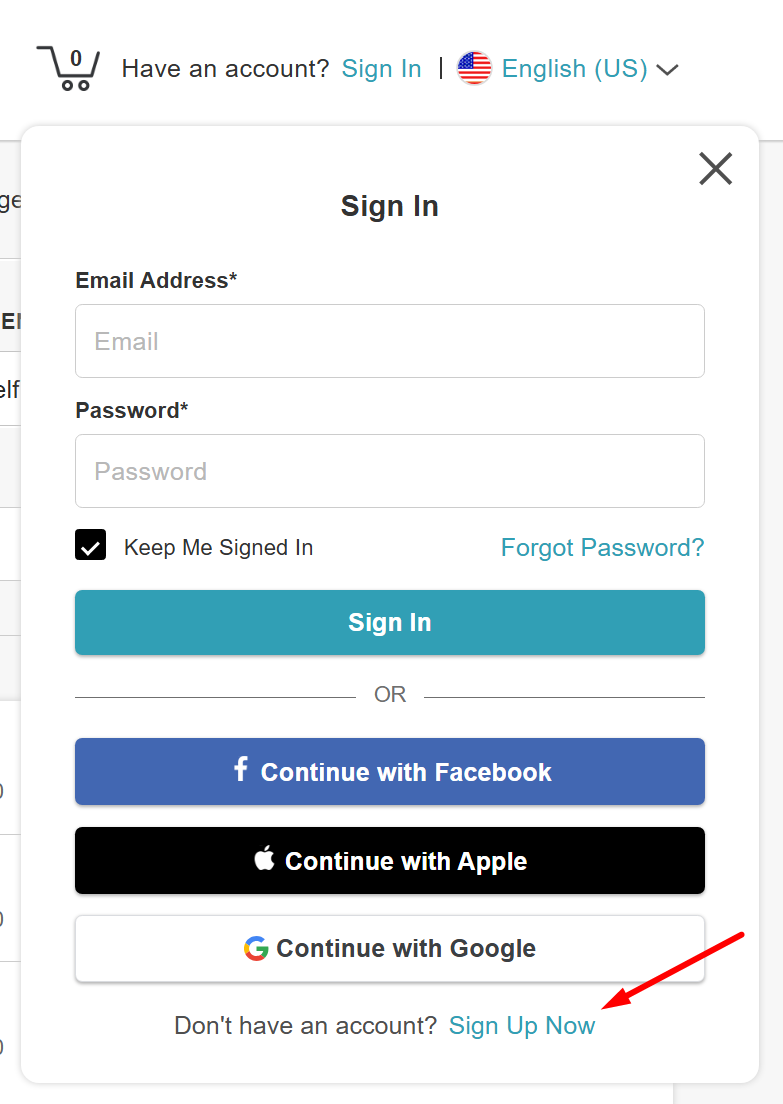
- The "Sign In" modal will appear > Click on the "Sign Up Now" hyperlink
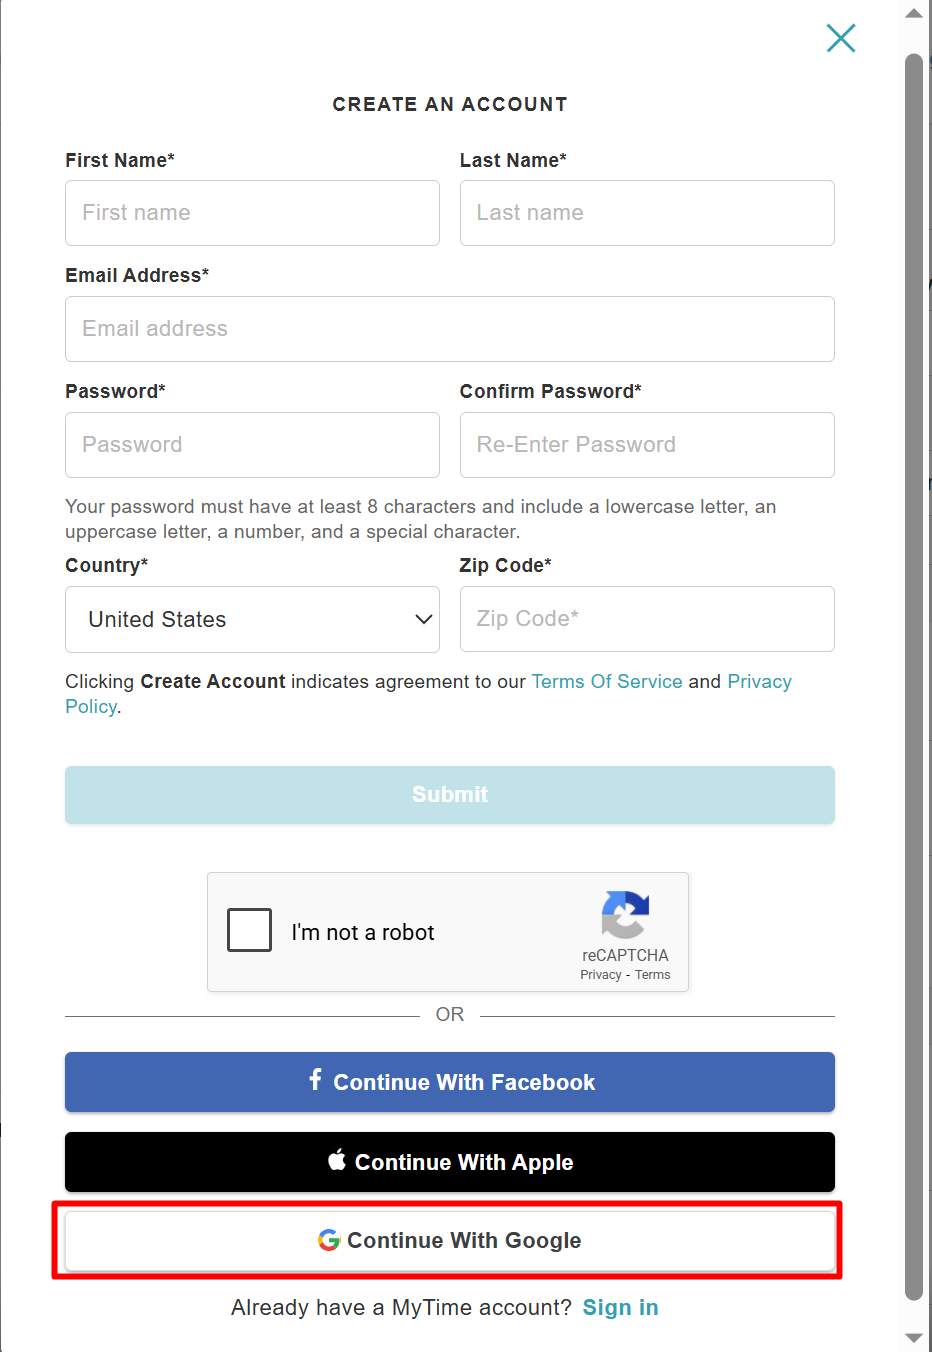
- Enter their personal details, including their name, email, password, country, and a valid zip code
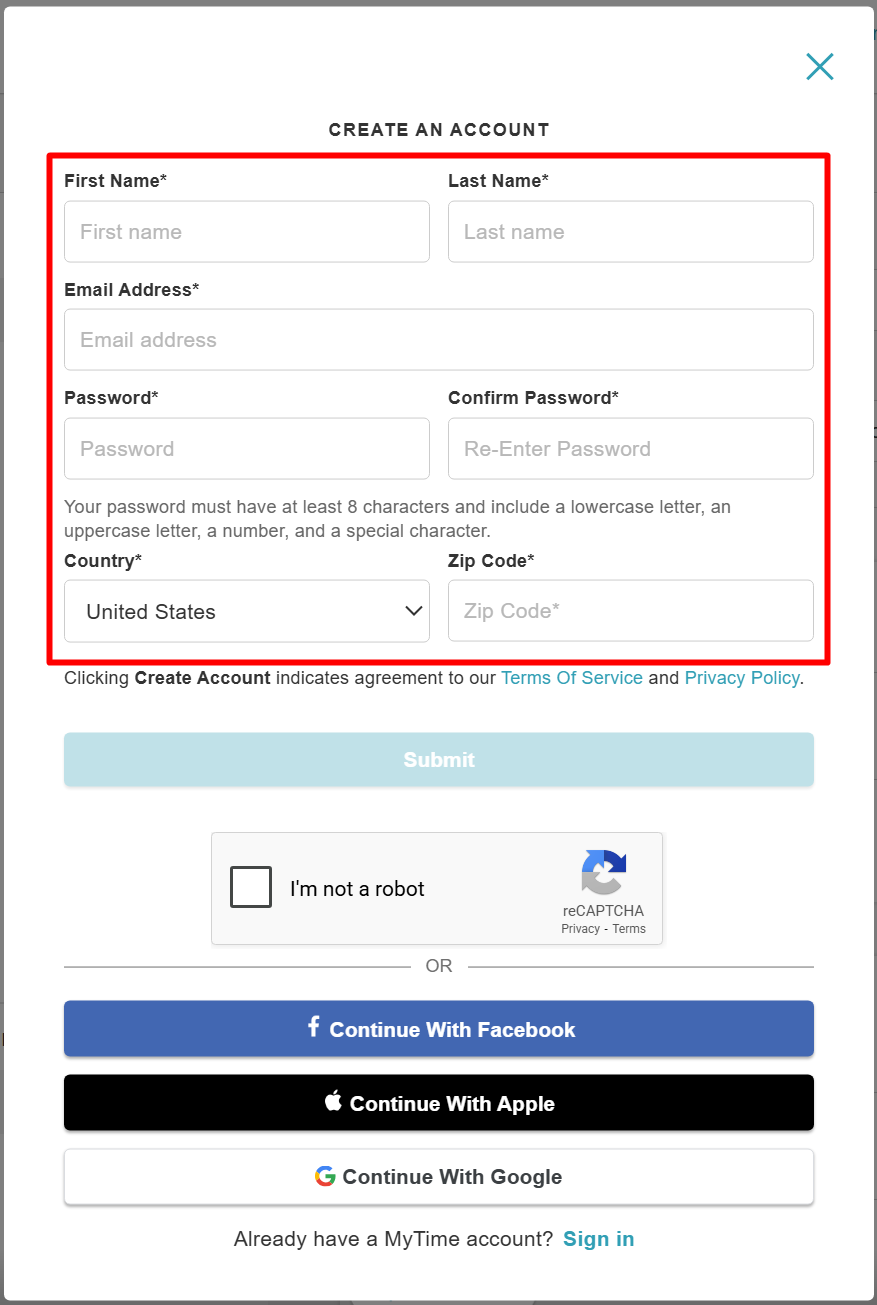
- Click the "Submit" button
- Once created, the client's initials will be displayed at the top of the page to confirm they are active.

Creating an Account Using Facebook
To create an account using the sign-in modal using Facebook credentials, your clients should:
- Navigate to your website
- Select their preferred location (if the business has multiple locations)
- Click on the "Sign In" option at the top of the page
- The "Sign In" modal will appear > Click on the "Sign Up Now" hyperlink
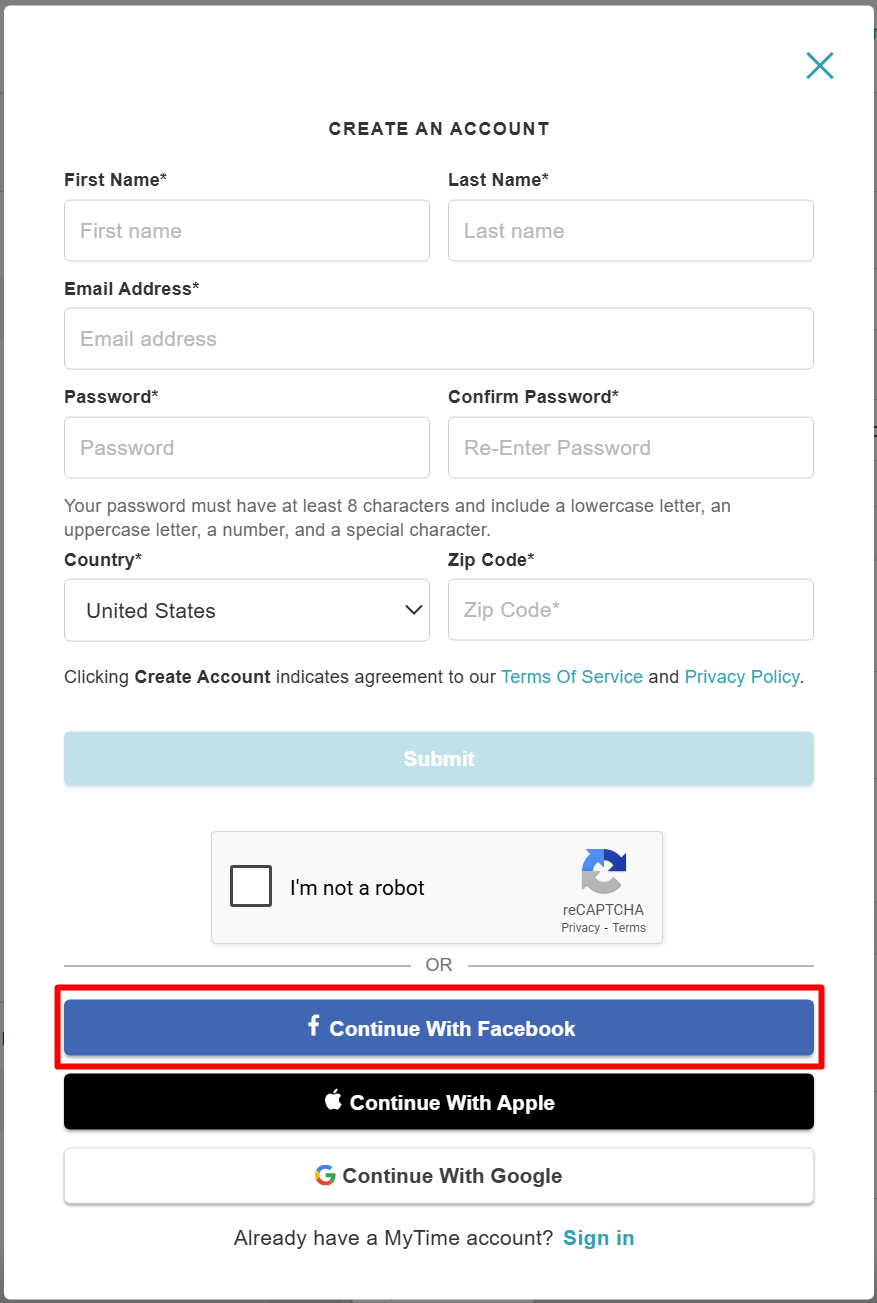
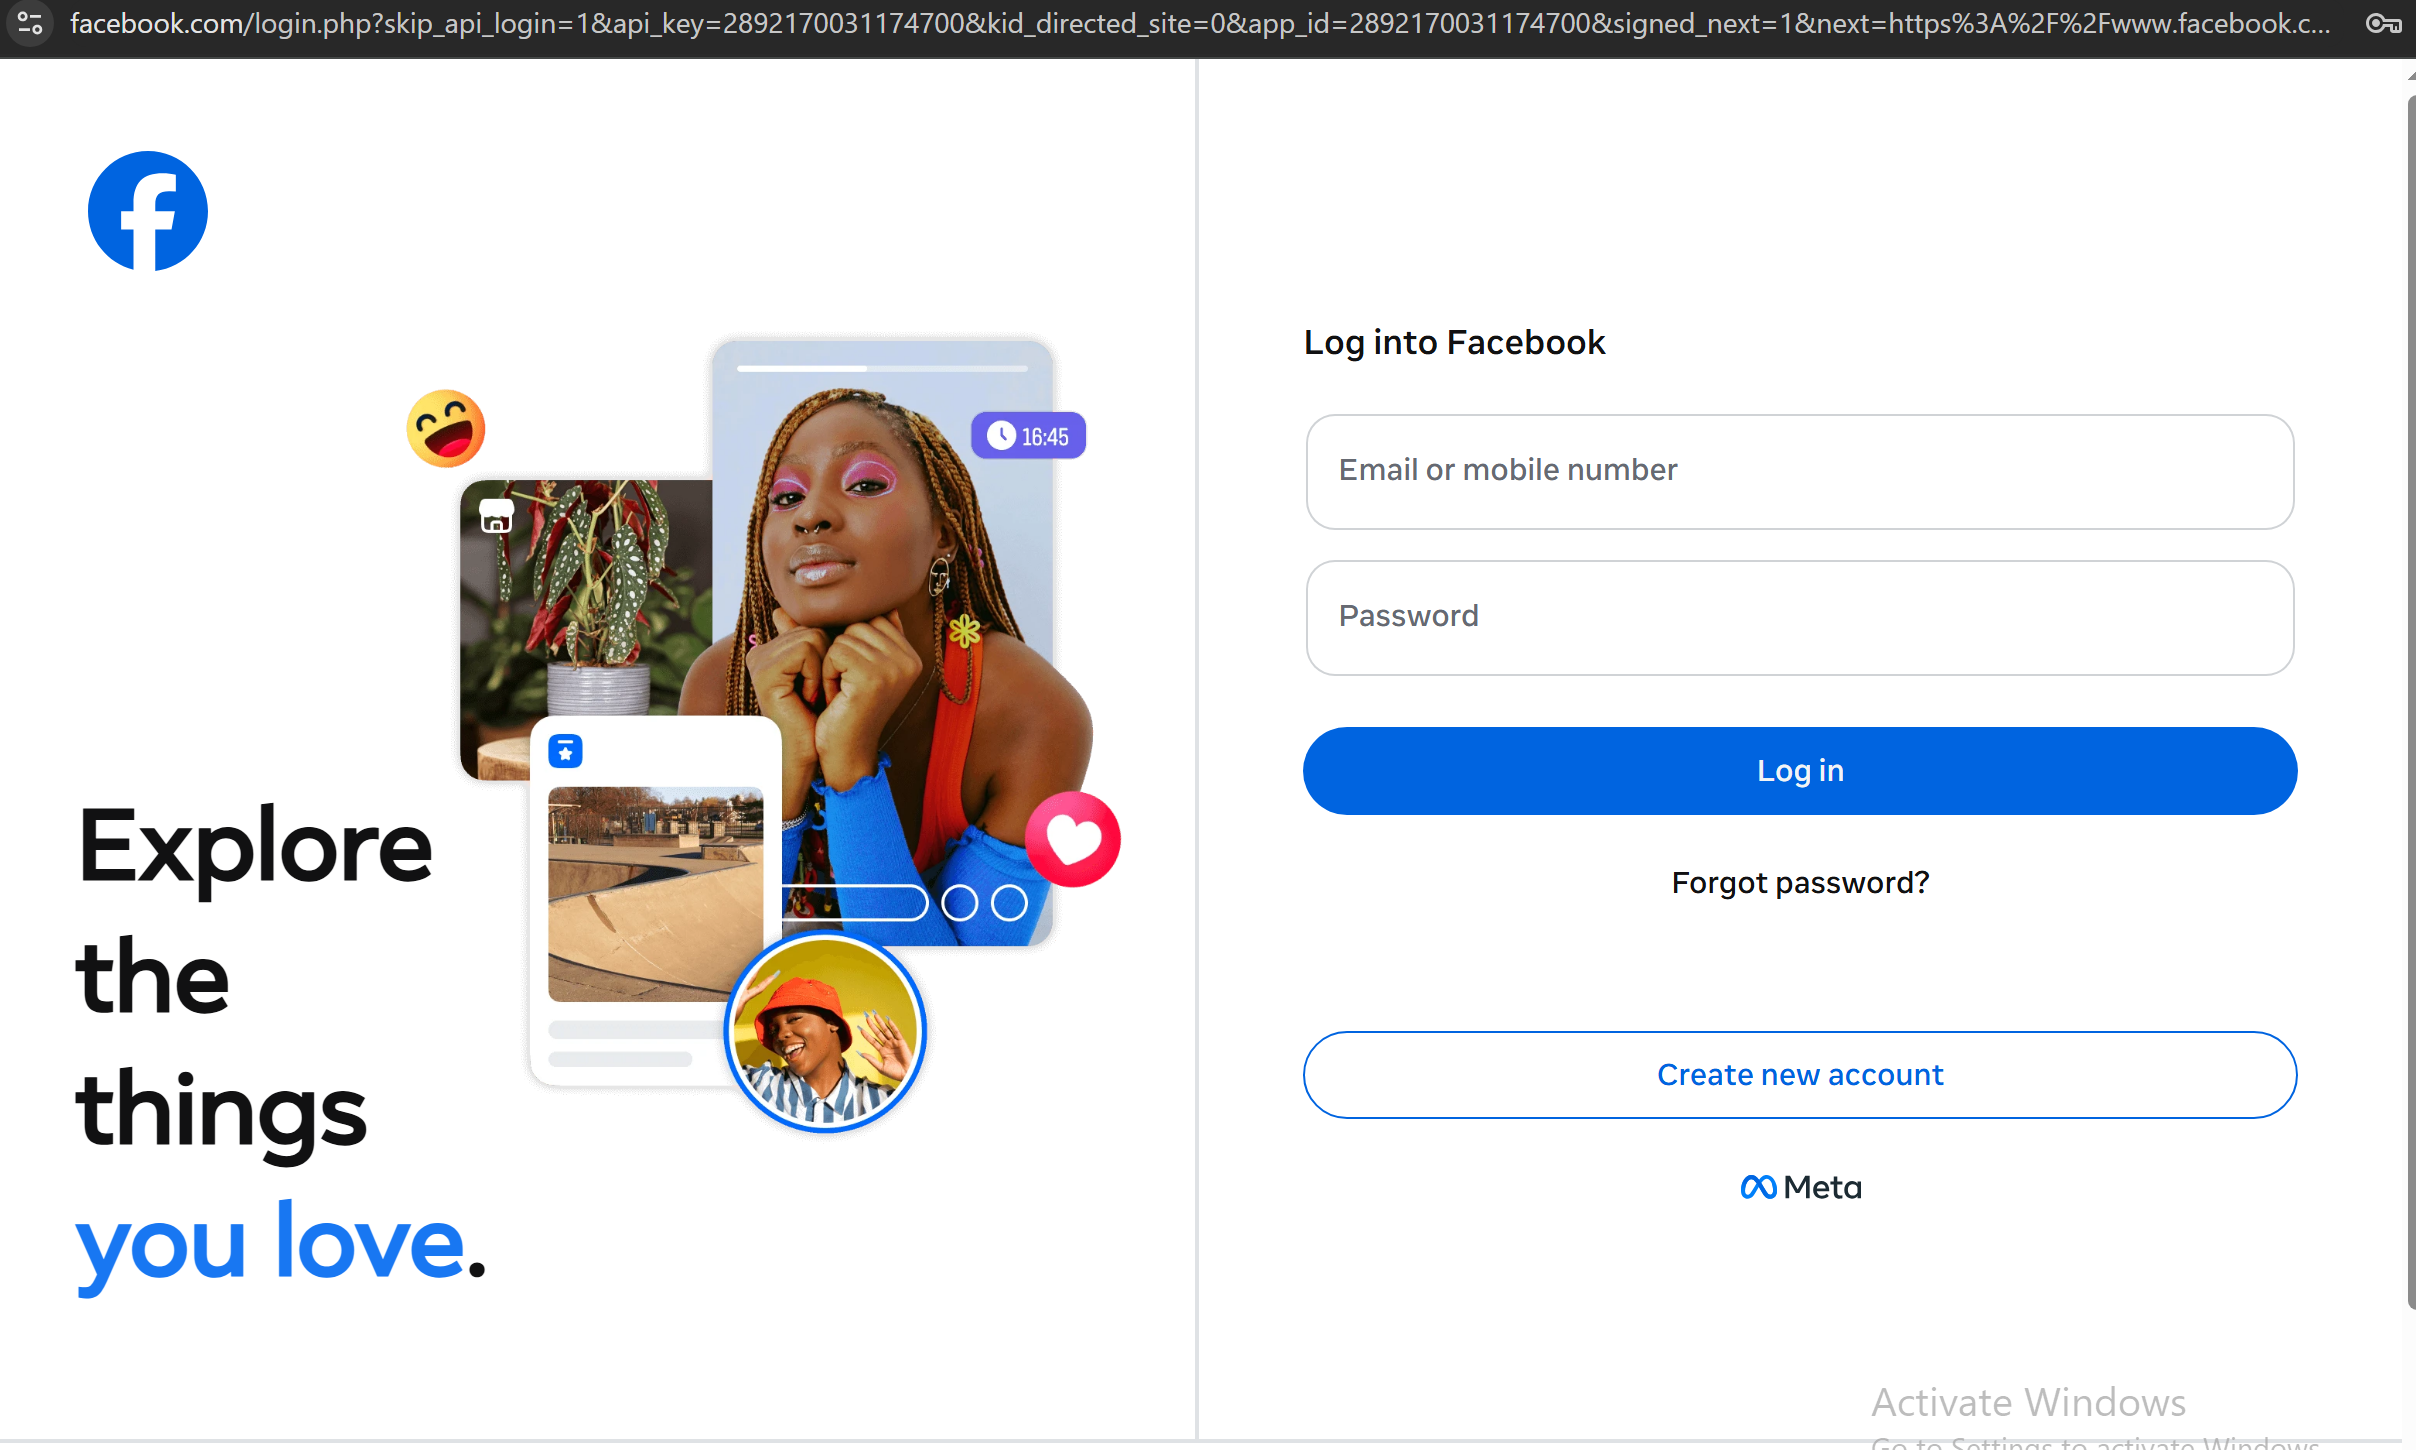
- Click "Continue with Facebook"
- Enter your Facebook credentials and click 'Login In'
- Once signed in, the page will refresh, and the client will be logged into the widget. The client's initials will be displayed at the top of the page to confirm they are active.

Creating an Account Using Apple
To create an account using the sign-in modal with email and password credentials, your clients should:
- Navigate to your website
- Select their preferred location (if the business has multiple locations)
- Click on the "Sign In" option at the top of the page
- The "Sign In" modal will appear > Click on the "Sign Up Now" hyperlink
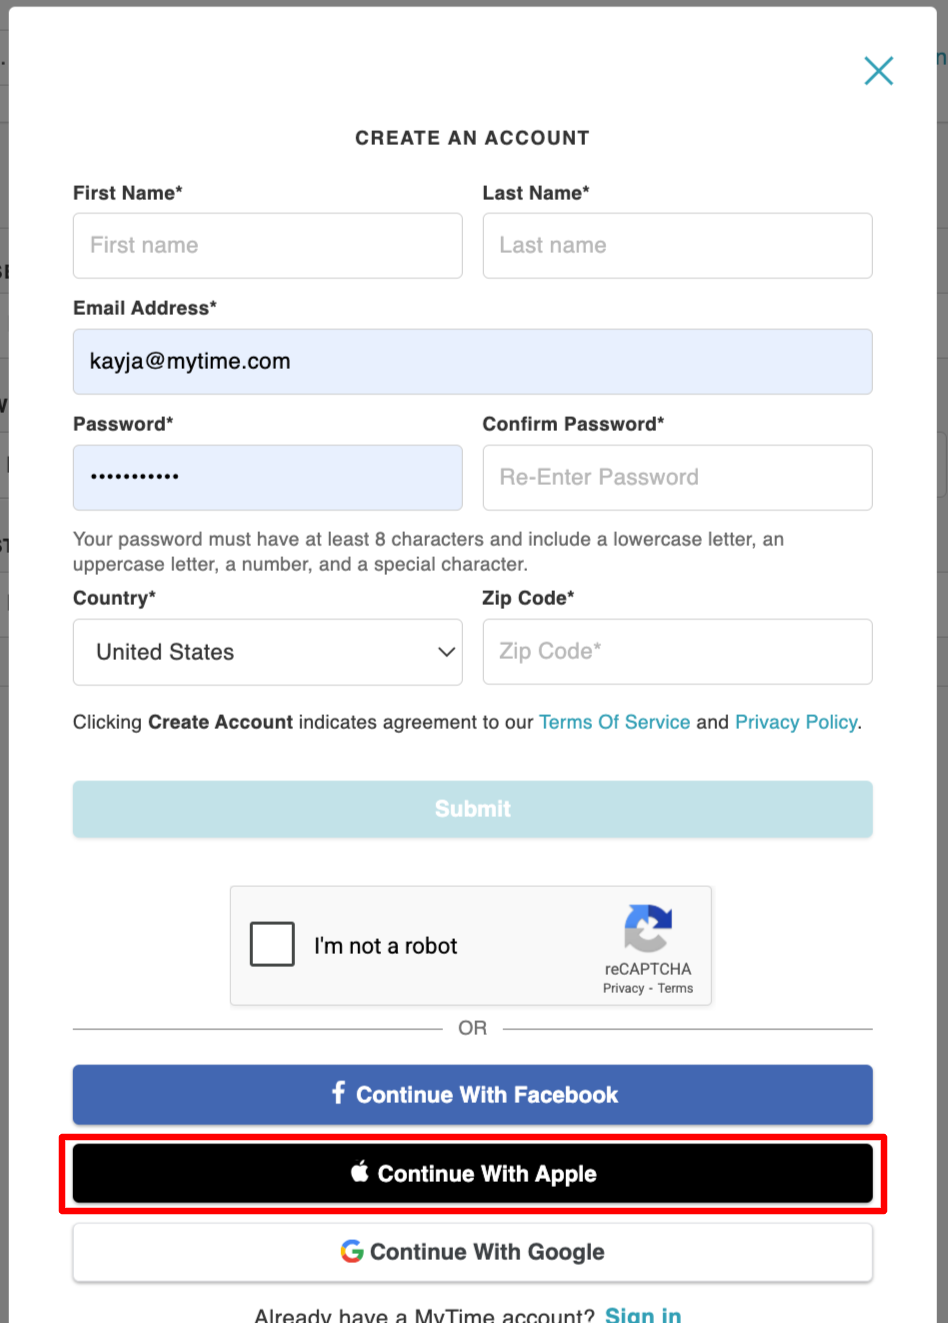
- Click "Continue with Apple"
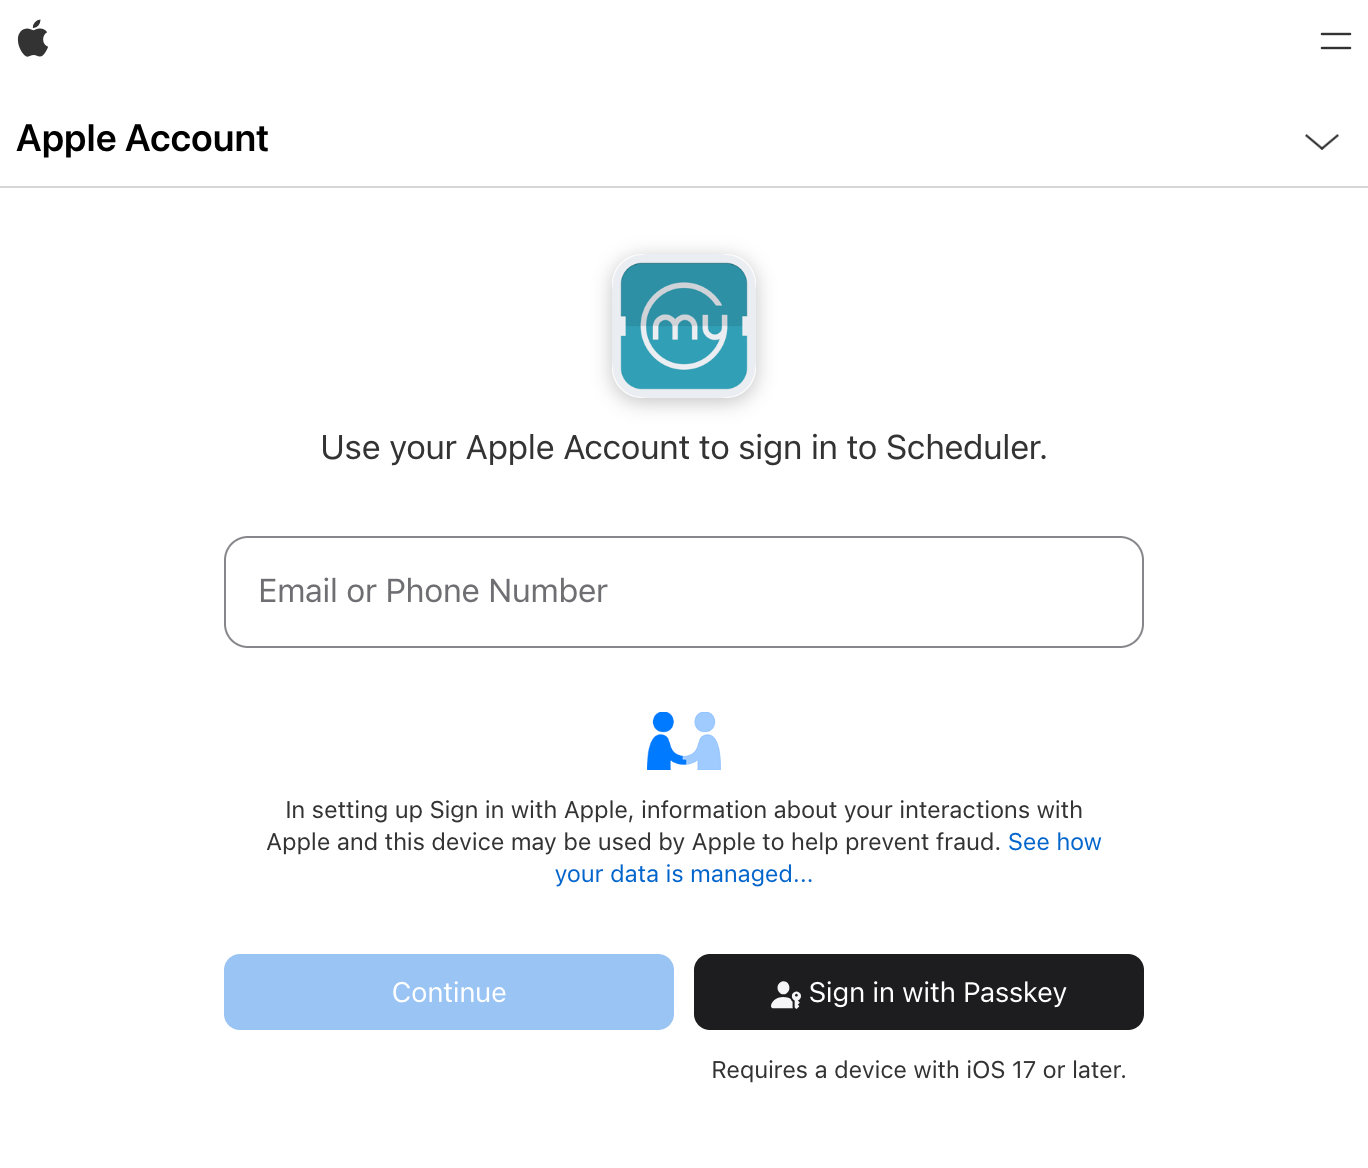
- Enter your Apple email address > Click Continue
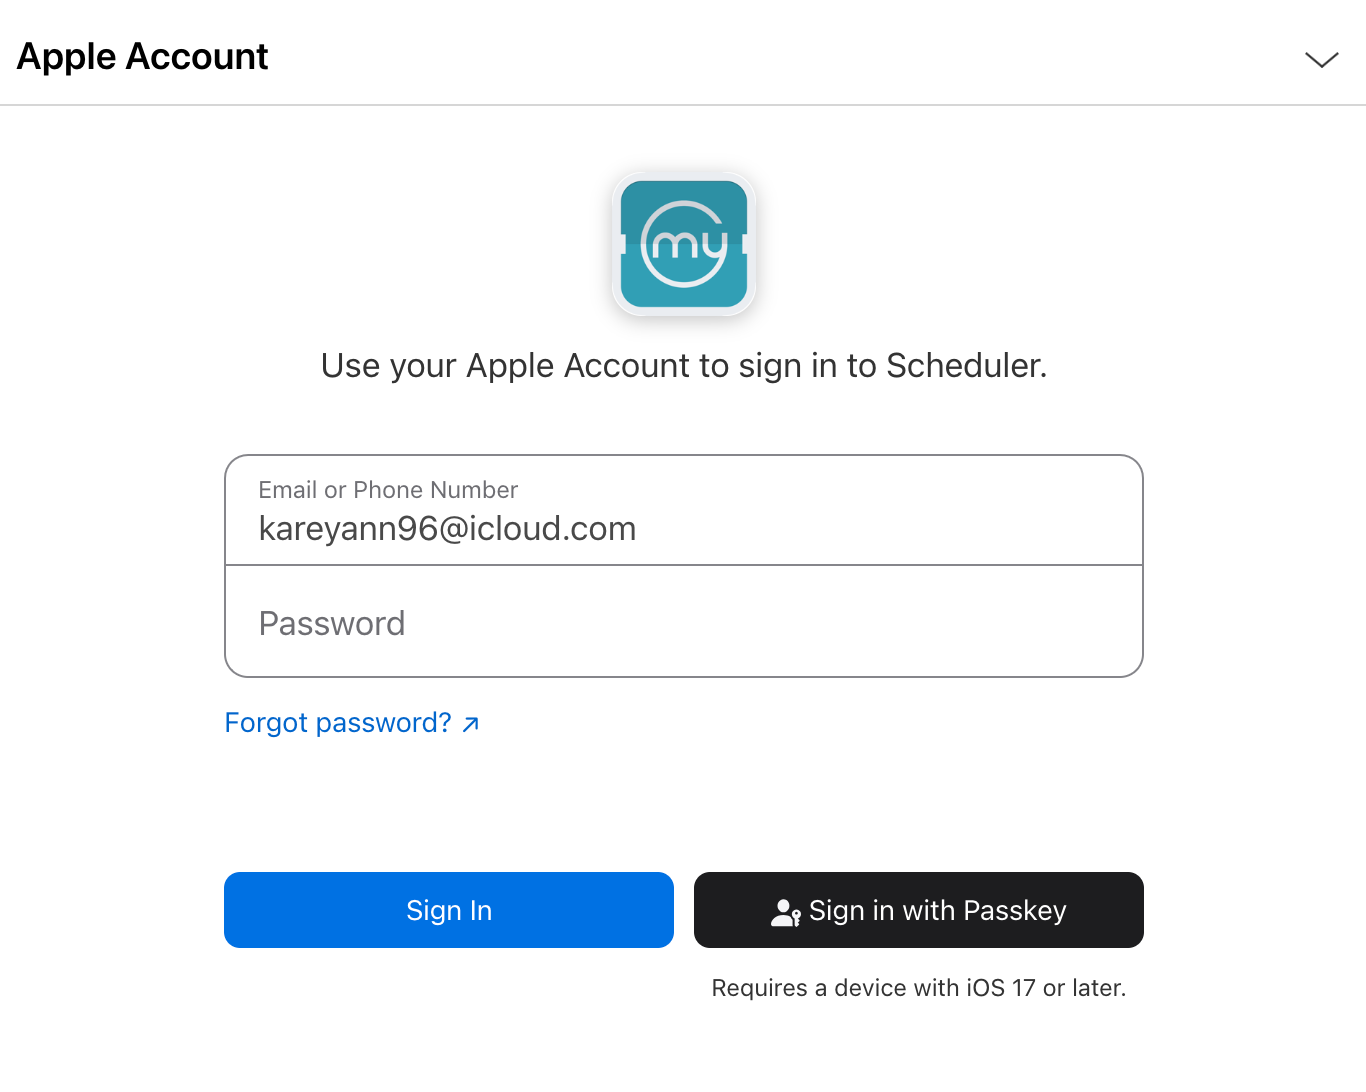
- Enter your password > Click Sign In
- Once signed in, the page will refresh, and the client will be logged into the widget. The client's initials will also be displayed at the top of the page to confirm they are active.

Creating an Account Using Google
To create an account using the sign-in modal with email and password credentials, your clients should:
- Navigate to your website
- Select their preferred location (if the business has multiple locations).
- Click on the "Sign In" option at the top of the page
- The "Sign In" modal will appear > Click on the "Sign Up Now" hyperlink
- Click "Continue with Google"
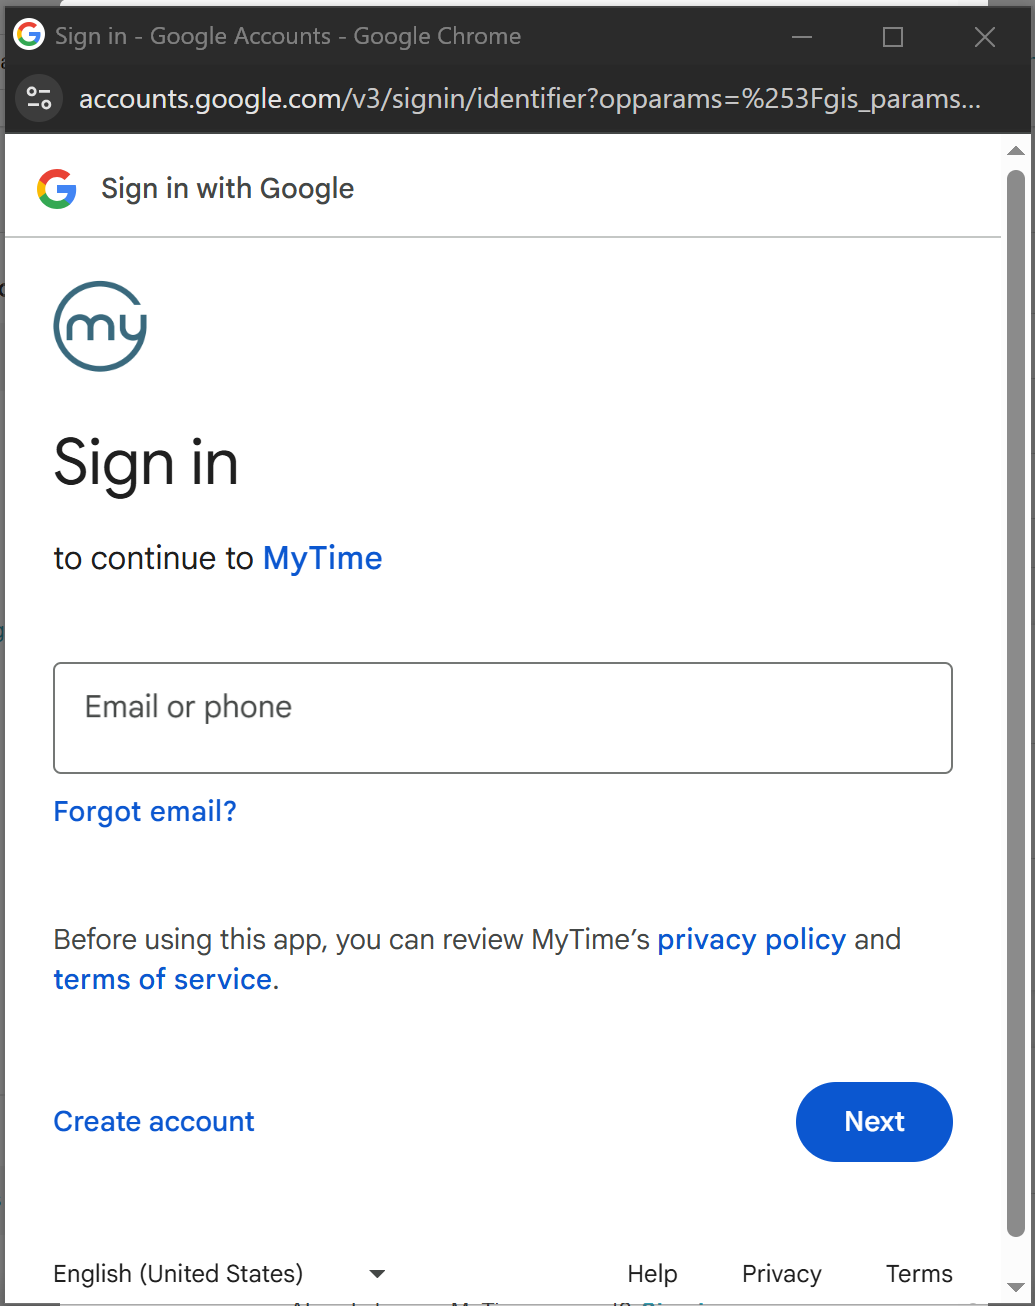
- Enter your Google email address > Click 'Next'
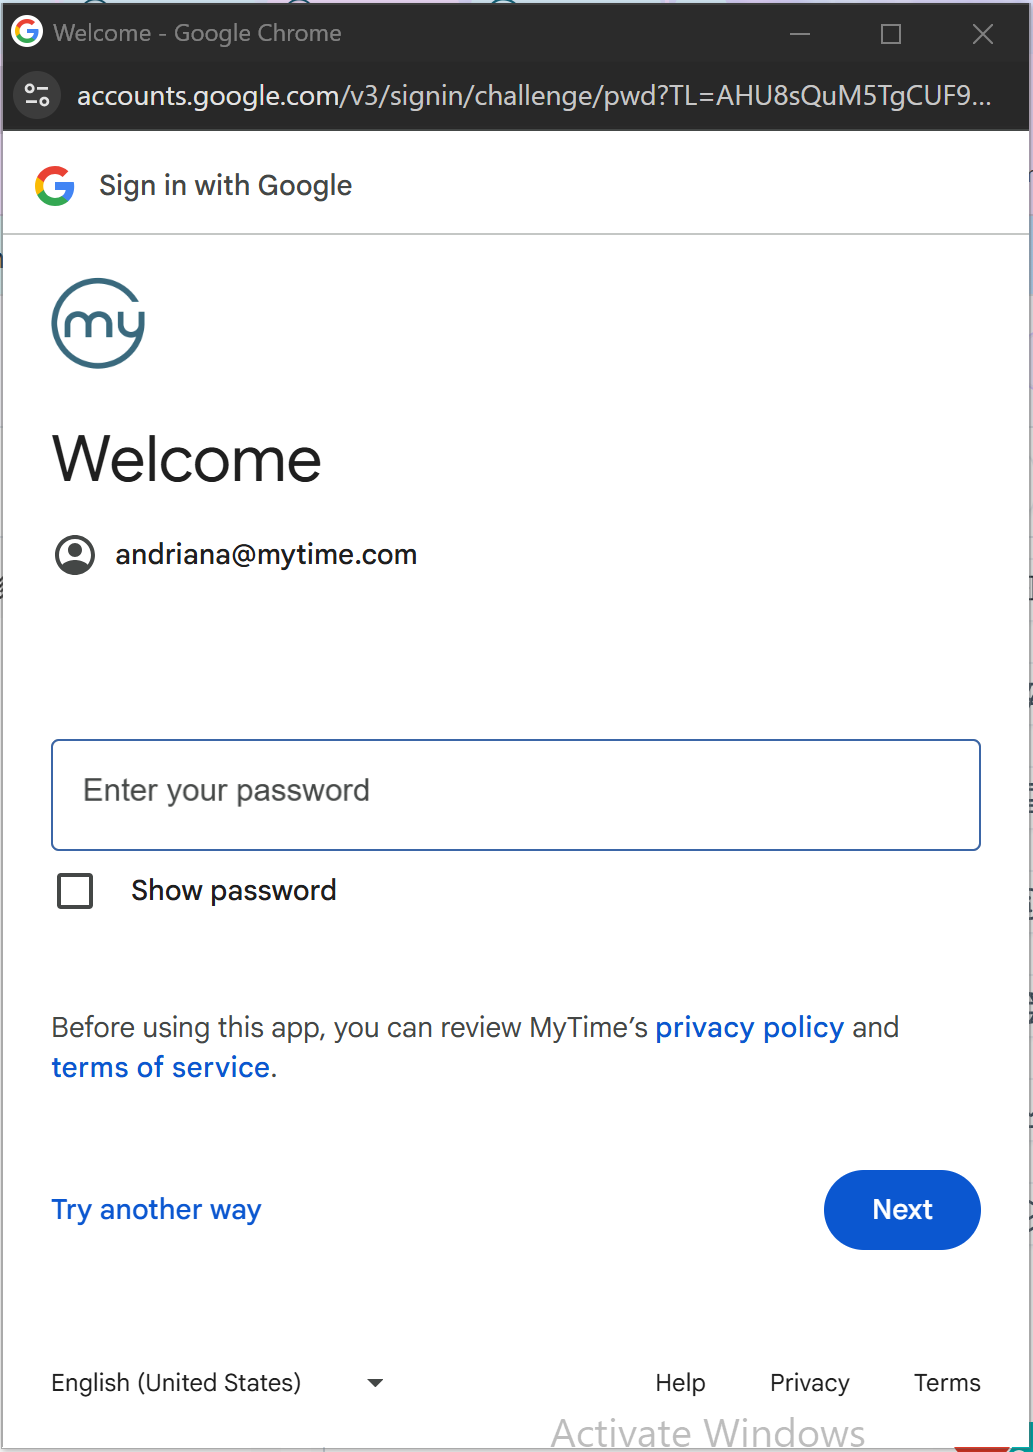
- Enter your Google password > Click 'Next'
- Click 'Continue'
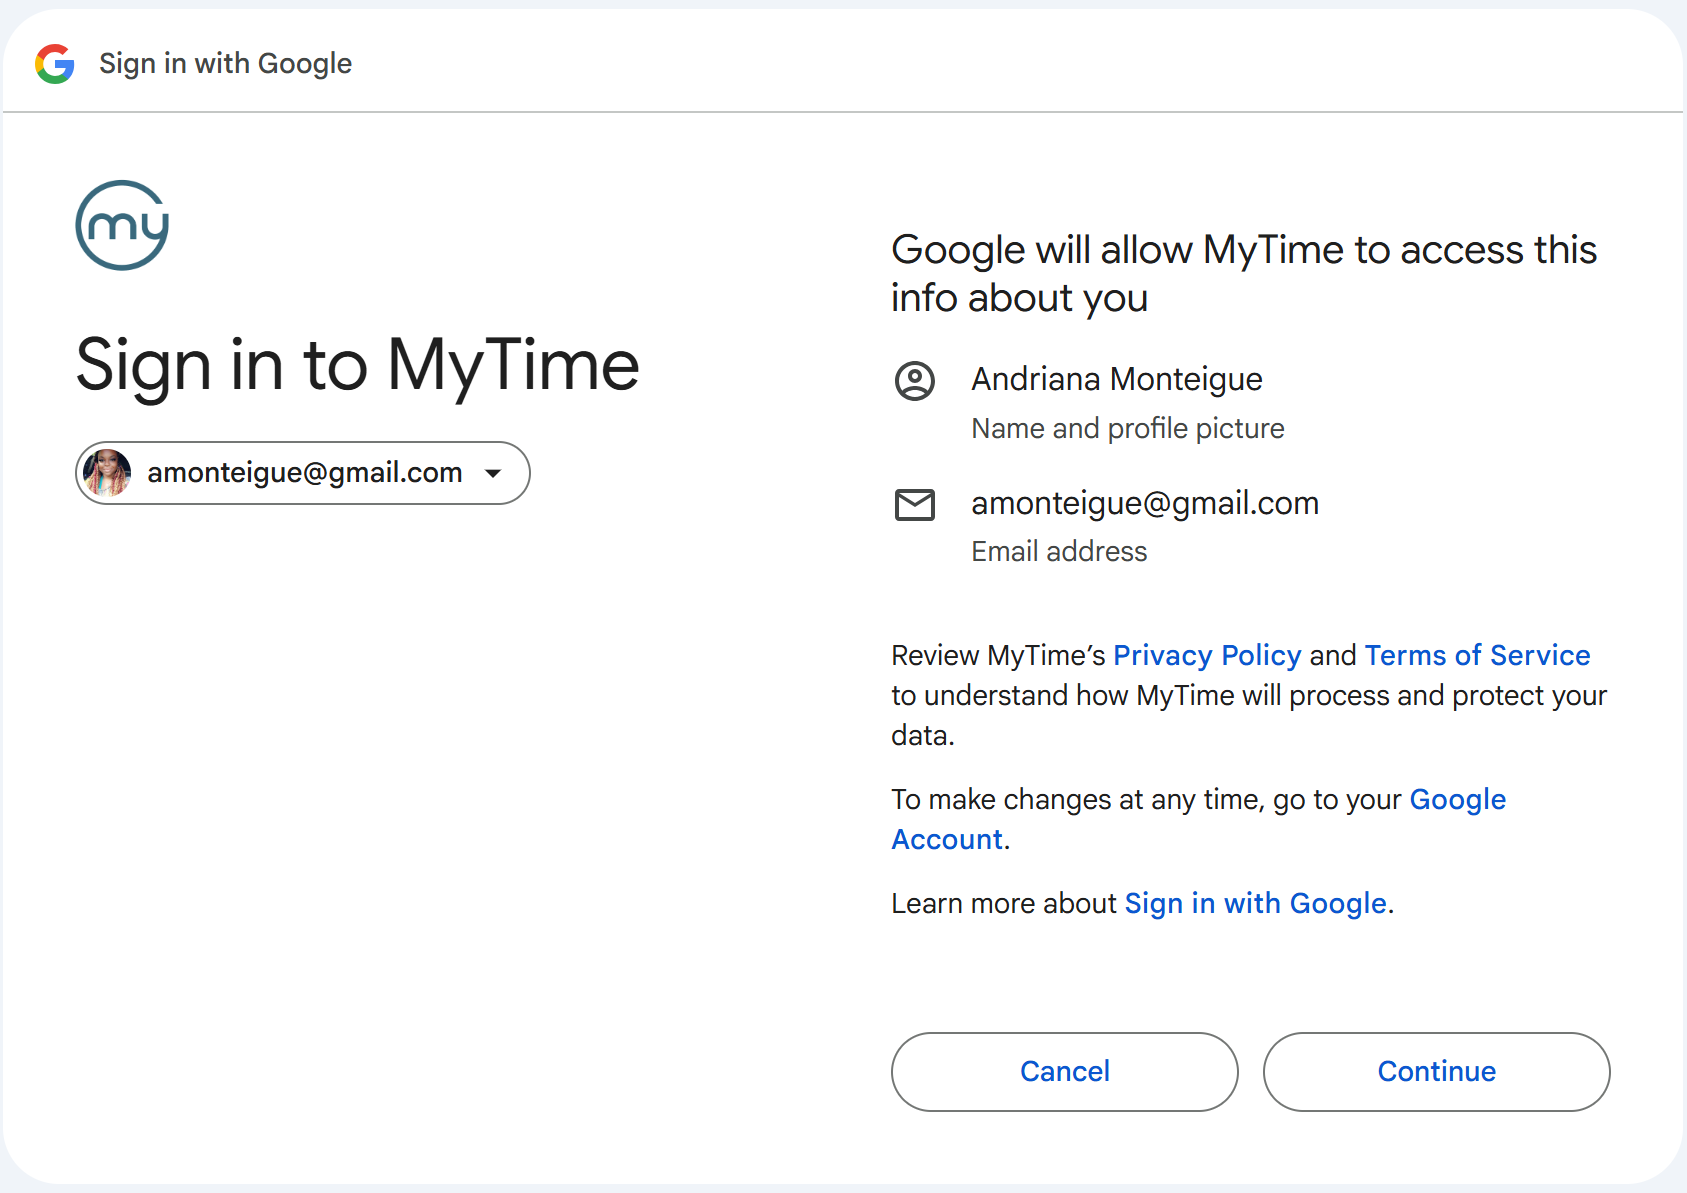
- The page will refresh, and the client will be logged into the widget. The client's initials will also be displayed at the top of the page to confirm they are active.

Creating an Account at Checkout
- Navigate to your website
- Select their preferred location (if the business has multiple locations).
- Select the service(s) they would like to book
- Click on "Select Time" to open the date and time picker, then choose their preferred appointment slot. (The time picker will display a monthly view by default)
- On the checkout page, click 'Sign Up' button
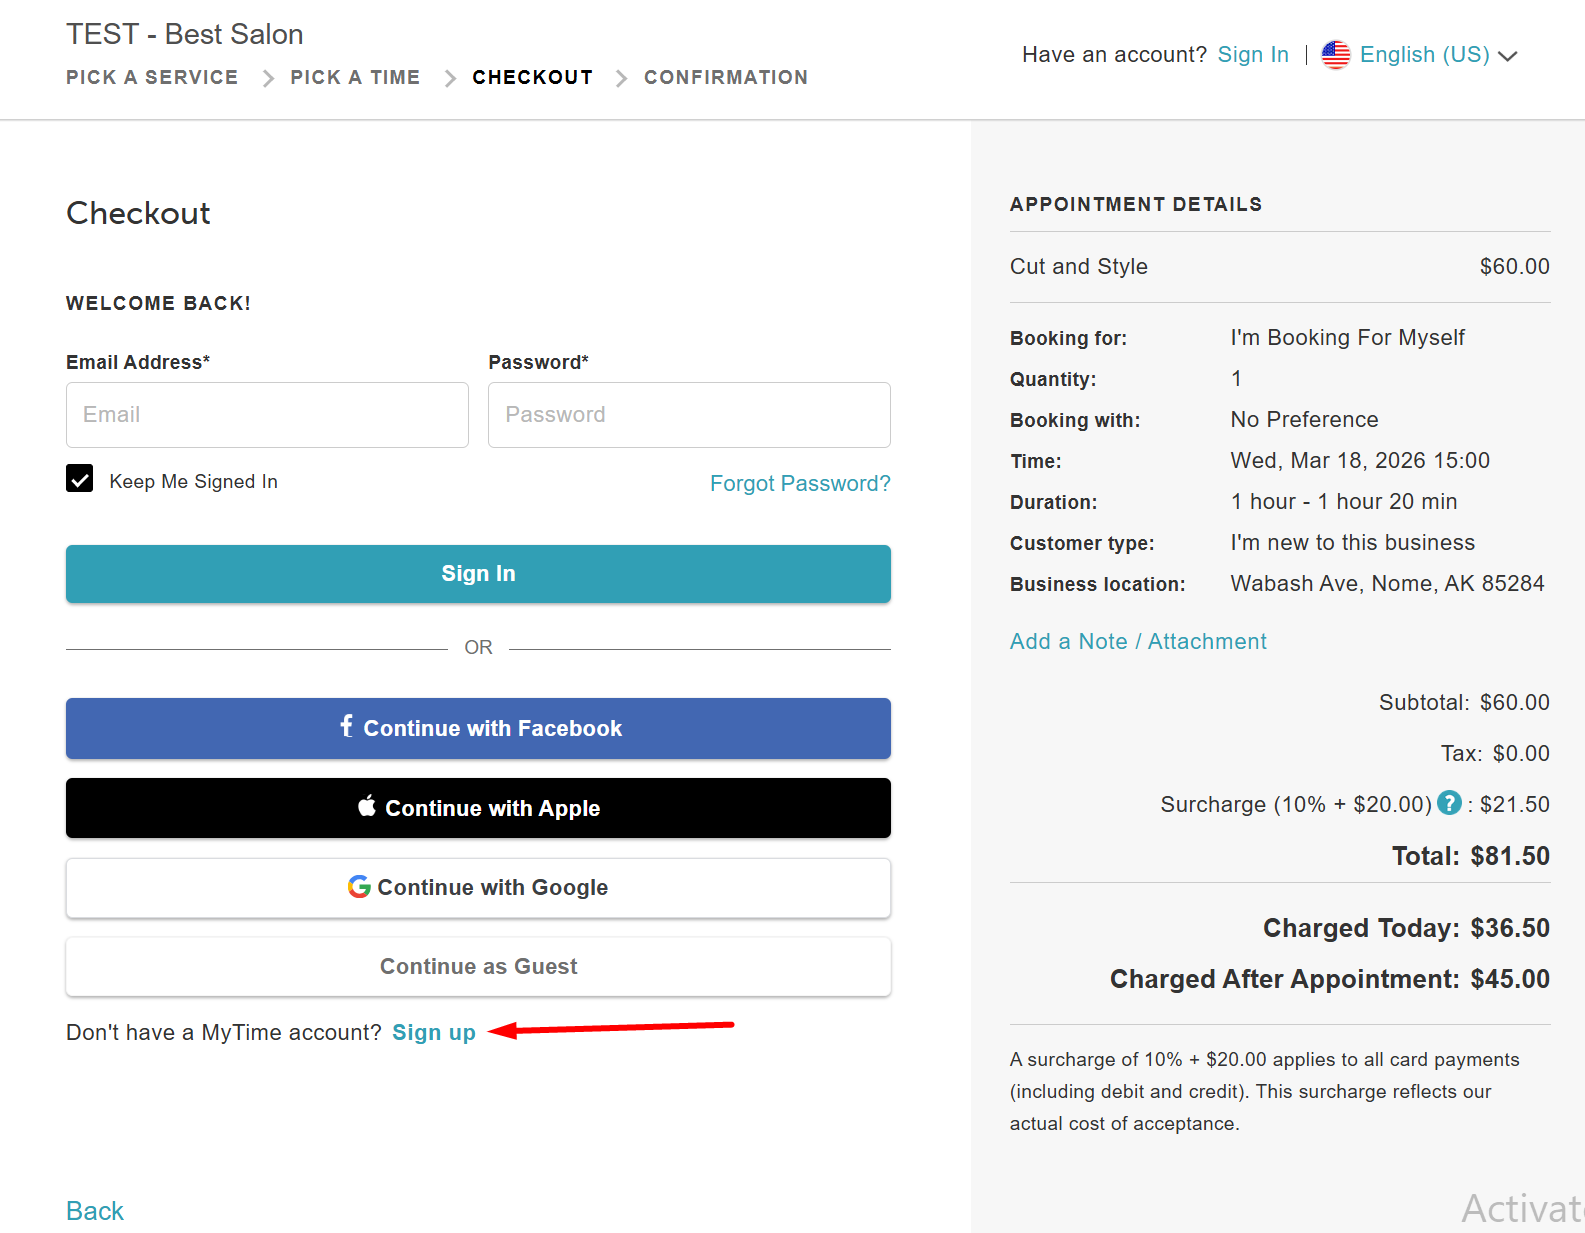
- Choose a sign-up method:
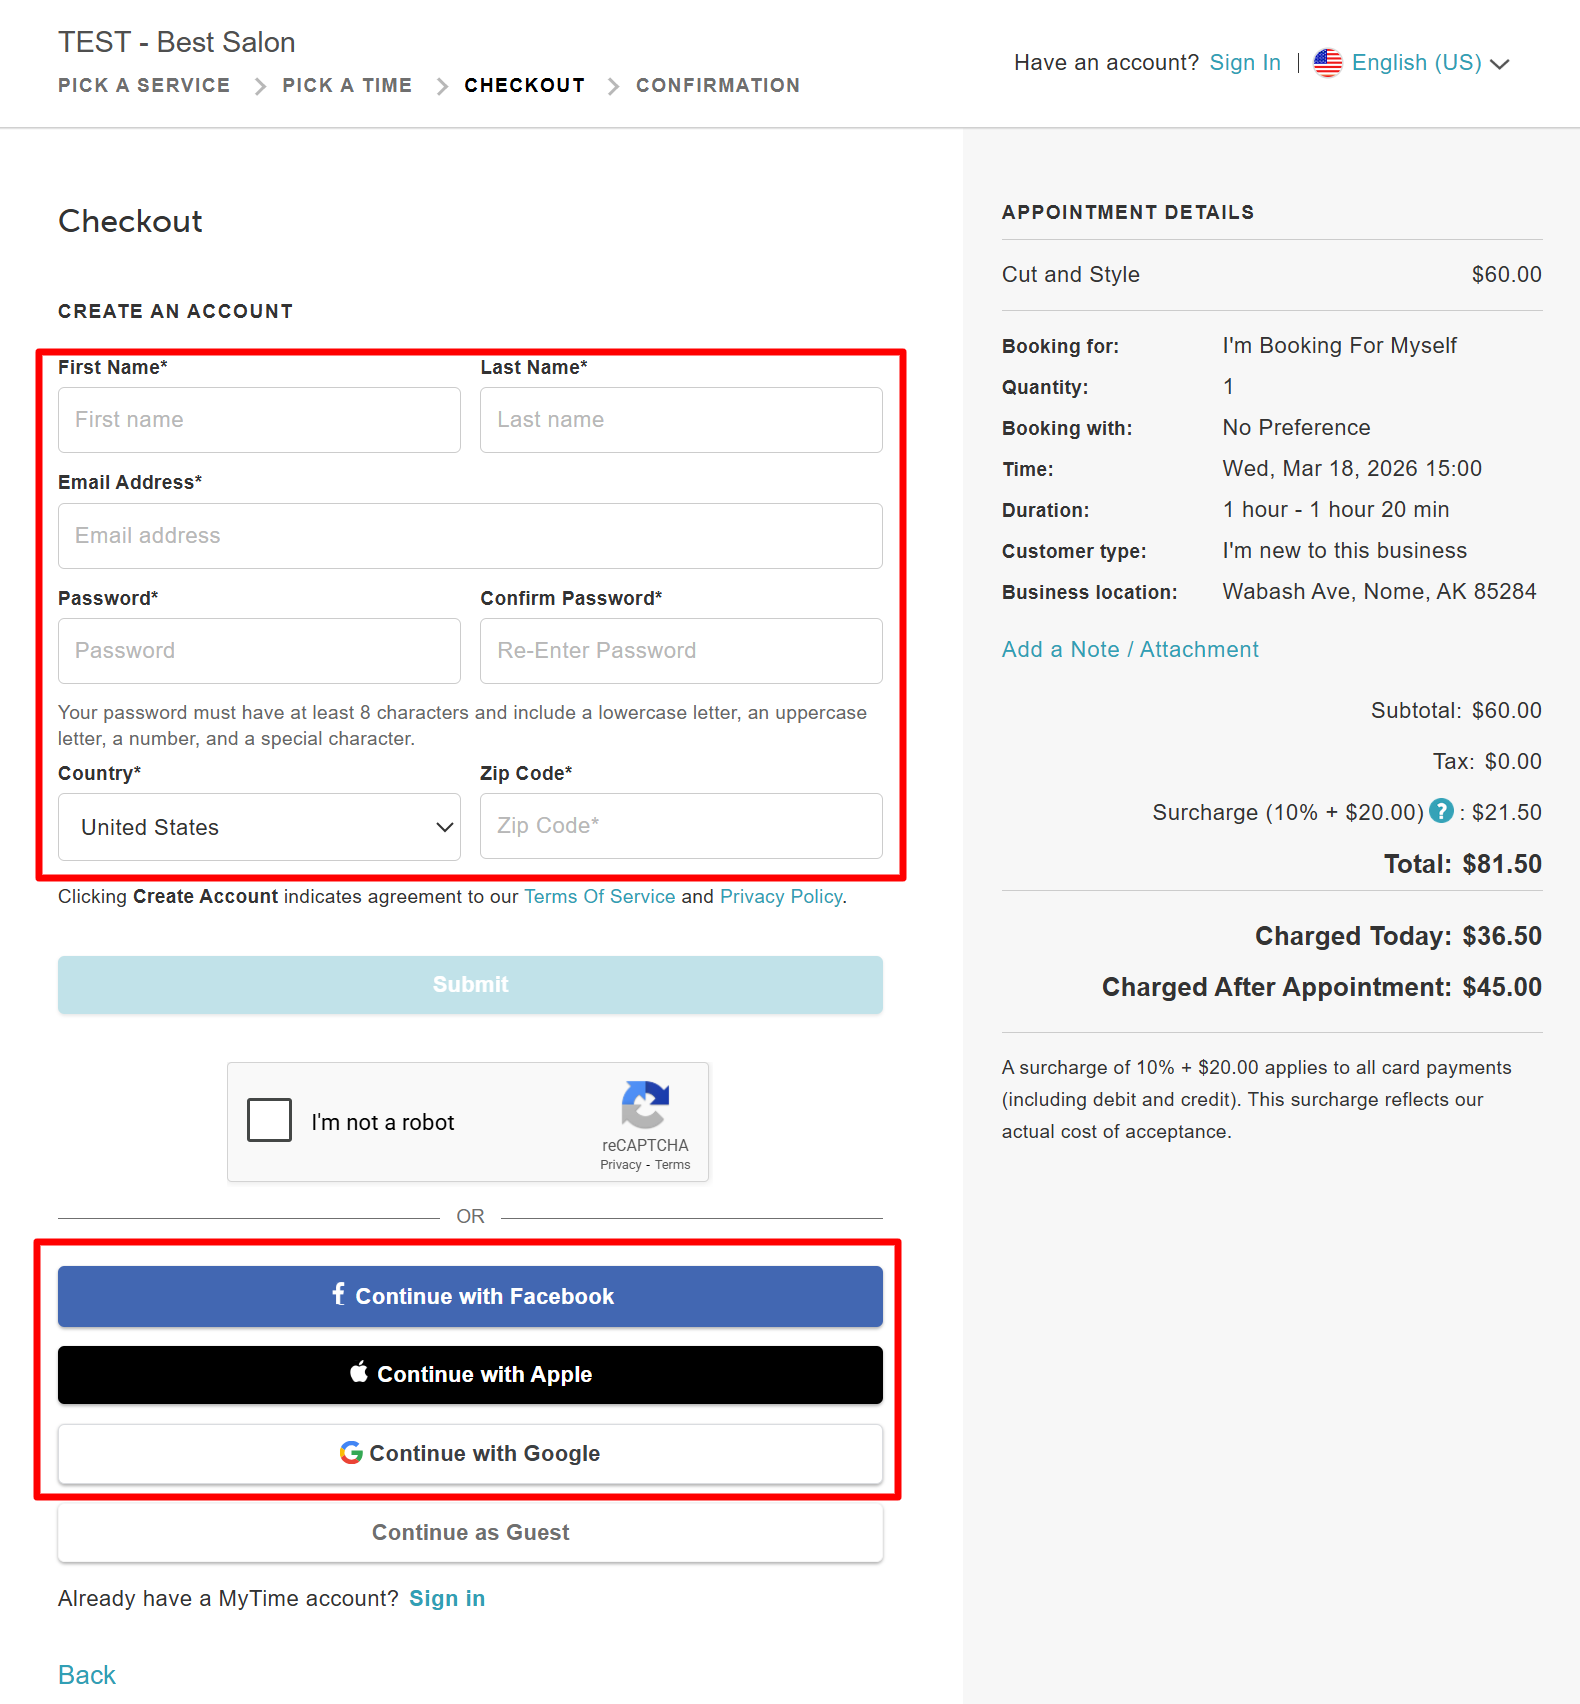
- Email & Password: Enter personal details to create a standard account as outlined here
- Facebook: Click "Continue with Facebook" to use social credentials as outlined here
- Apple: Click "Continue with Apple" to use their Apple ID as outlined here
- Google: Click "Continue with Google" to use their Gmail credentials as outlined here
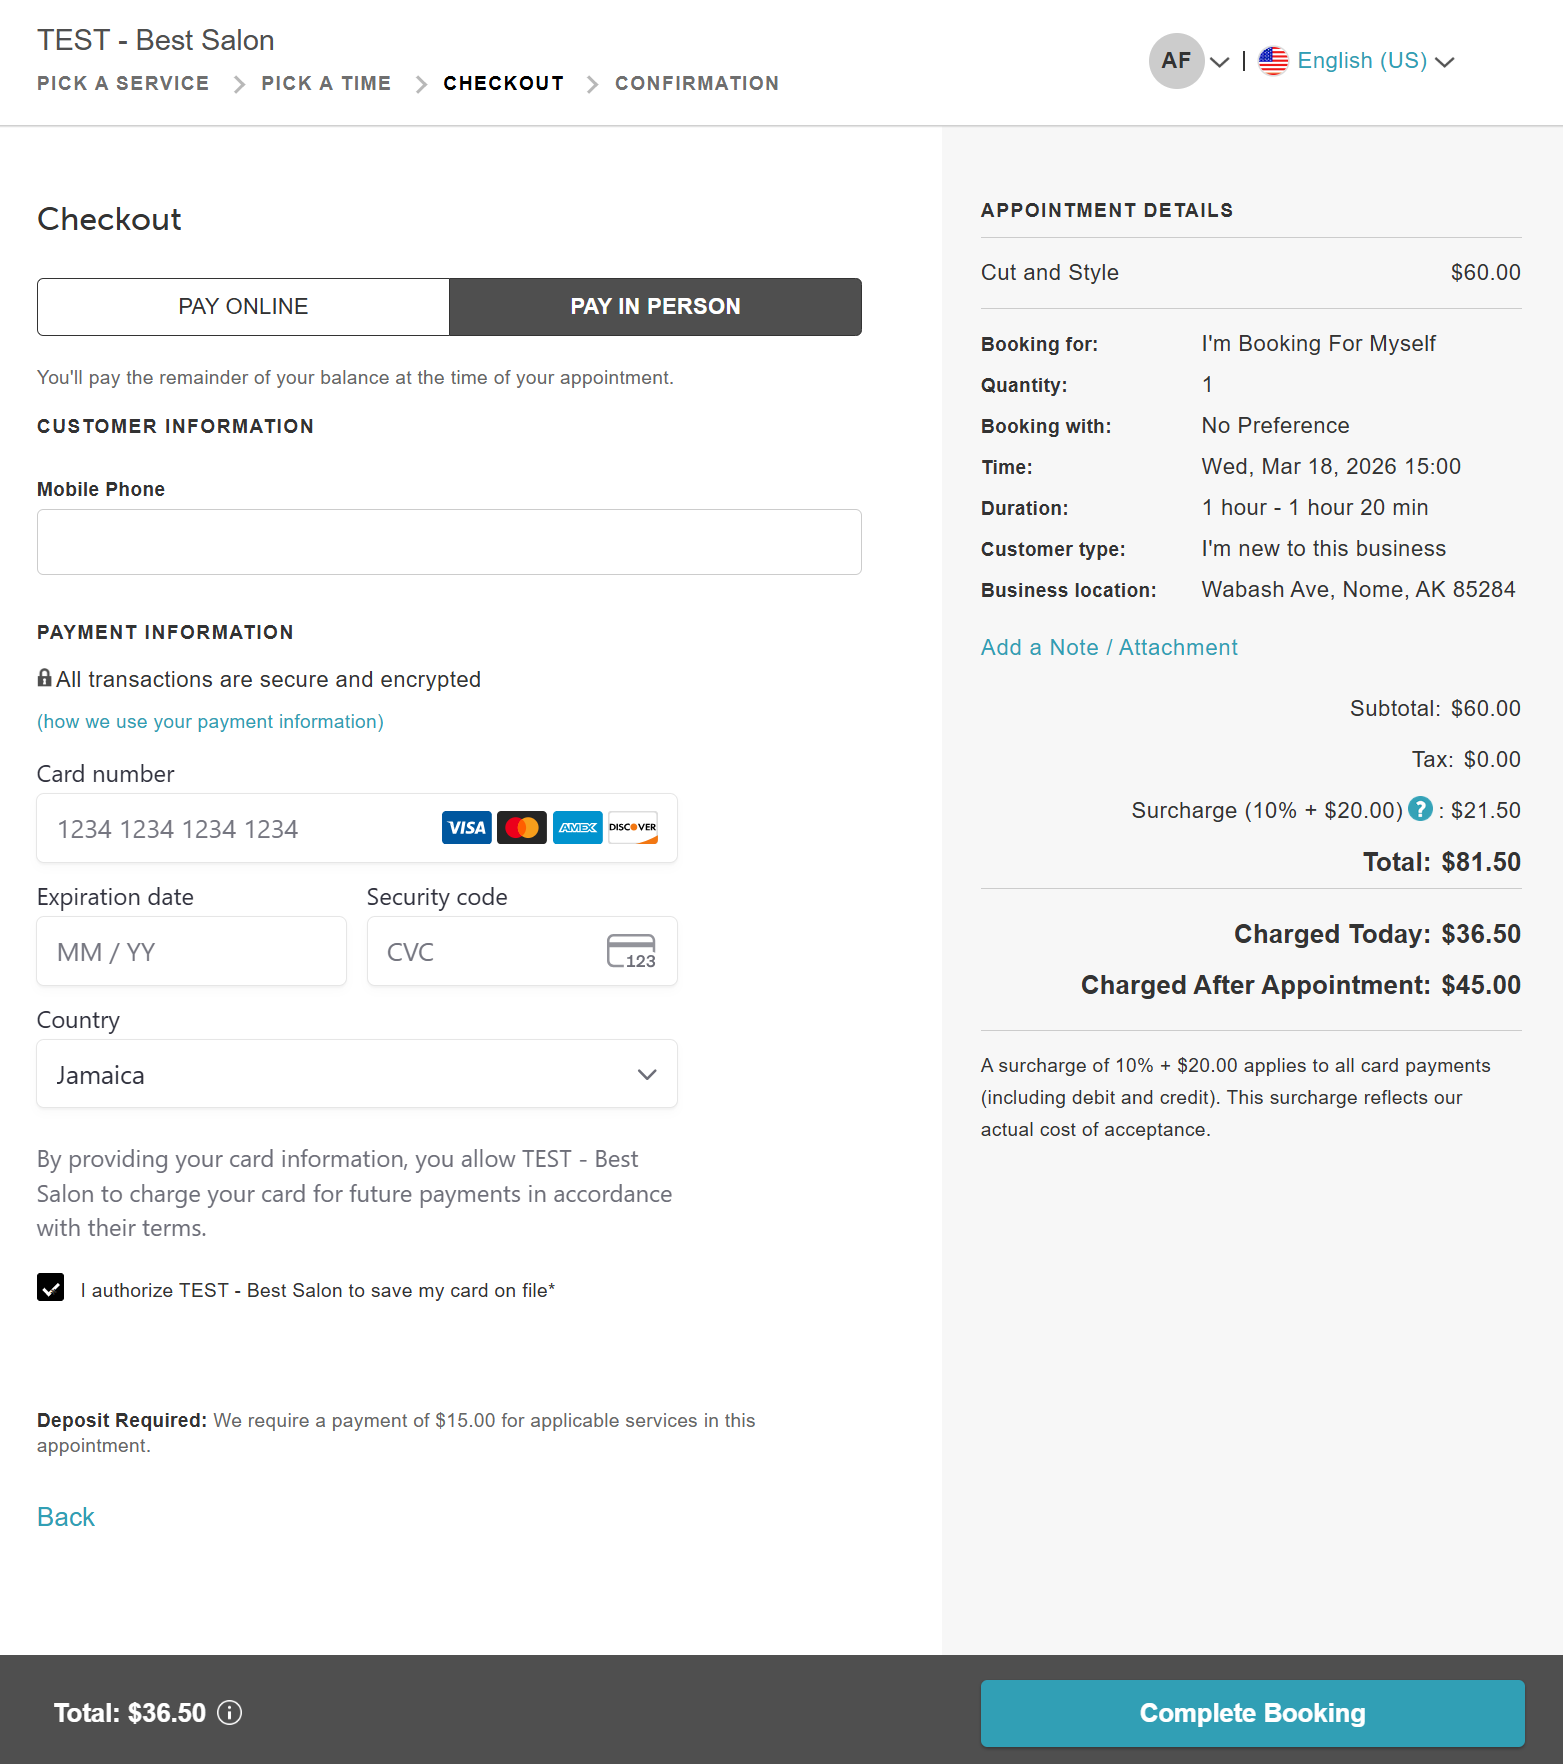
- Once the account is created, their initials will appear at the top of the page.
- Fill out the intake form, add payment details (if required), and select "Complete Booking."
Frequently Asked Questions
1. What happens when a completely new client creates a MyTime account using Google, Apple, or Facebook?
Their name and email are pulled automatically from their social account and a new client profile is created for them instantly — no account setup required.
2. What happens if I lose access to my Facebook or Google account?
You can still access your MyTime account! You will just need to use the "Forgot Password" link on the login page using the email address associated with that social account. Once you set a password, you can log in manually without the social button.
3. Why did the system create a new account when I clicked "Sign in with Google"?
This happens if the email address on your Google account does not exactly match the email on your existing MyTime profile. The system sees it as a new user and creates a fresh profile. If this happens, contact the business to merge your two profiles.
4. Can I disconnect my social account later?
Absolutely. You can unlink your social login at any time by going to My Account > Connected Accounts and selecting "Disconnect." We recommend setting a standard password before doing this so you don't get locked out.
If you have any questions, please contact our Support Team at support@mytime.com.
Related Articles:
Was this article helpful?
That’s Great!
Thank you for your feedback
Sorry! We couldn't be helpful
Thank you for your feedback
Feedback sent
We appreciate your effort and will try to fix the article